You certainly are tired of going back and forth with that mop of yours on your bathroom floor only to behold your bathroom floor dirty again.
I KNOW your pain and can tell you that YOU DESERVE BETTER!
We’ll see different methods which do not involve the use of a mop in cleaning those bathroom floors.
Problems Faced When Cleaning Bathroom Floor with Mops
People usually complain about a few things when it comes to mopping. Although mopping comes with its advantages, it has its downsides.
1- Mop Spreads More Dirt
This is indeed the most common problem with using mops. When dirt gets collected in the mop fibers, the next thing you do is rinse it with bucket water.
This makes the bucket water get soiled, and when you rinse your mop the next time with this dirty water, the fibers will soak this dirty water and all you’ll be doing will be pushing dirty water onto your floor.
The only solution is to replace the cloth or thoroughly clean it before using it on another surface.
In addition to this, the mops can quickly spread germs to other parts of your house.
2- Slow Cleaning
Most mops come with a large cloth for cleaning, this cloth does most of the work by soaking up all the dirt. This usually requires a lot of time and effort to clean. This slows down the cleaning process.
3- Steam Mops Can Damage Floors
While steam mops can be very efficient and effective for cleaning the floor and destroying germs and bacteria, they can also cause damage to the floor and its finish, depending on the type of floor.
Using steam mops on engineered hardwood floors will cause the wood to expand over time. Marble floors can be porous and using steam mops on them will also damage them in the long run.
Painted floors should never be cleaned with steam mops as they will cause bubbles in the paint.
However, for cleaning rough bathroom tiles, or even smoother ones, steam mops work quite well.
How to Clean a Bathroom Floor without a Mop (9 Methods)
Before we dive into the actual methods, you need to prepare your floor.
Preparing Your Bathroom Floor for Cleaning
To make the cleaning process faster and easier, it’s crucial to prepare the bathroom floor by doing the following.
Remove Unwanted Items
The first thing you want to make sure of is that the space to be cleaned is clear. All water-damageable items and things that won’t be needed should be removed from the floor. This would enable you to have access to all the corners of the floor.
Dust The Floor Area
If you observe that the floor is dusty or has hair collected on it before cleaning, it would be best to sweep with a broom and collect the mess with a dustpan or a vacuum cleaner. Alternatively, if the dust on the floor is minimal, you can use a moist paper towel to wipe it off the floor.
Method 1: Cleaning With Your Feet (Without Kneeling)
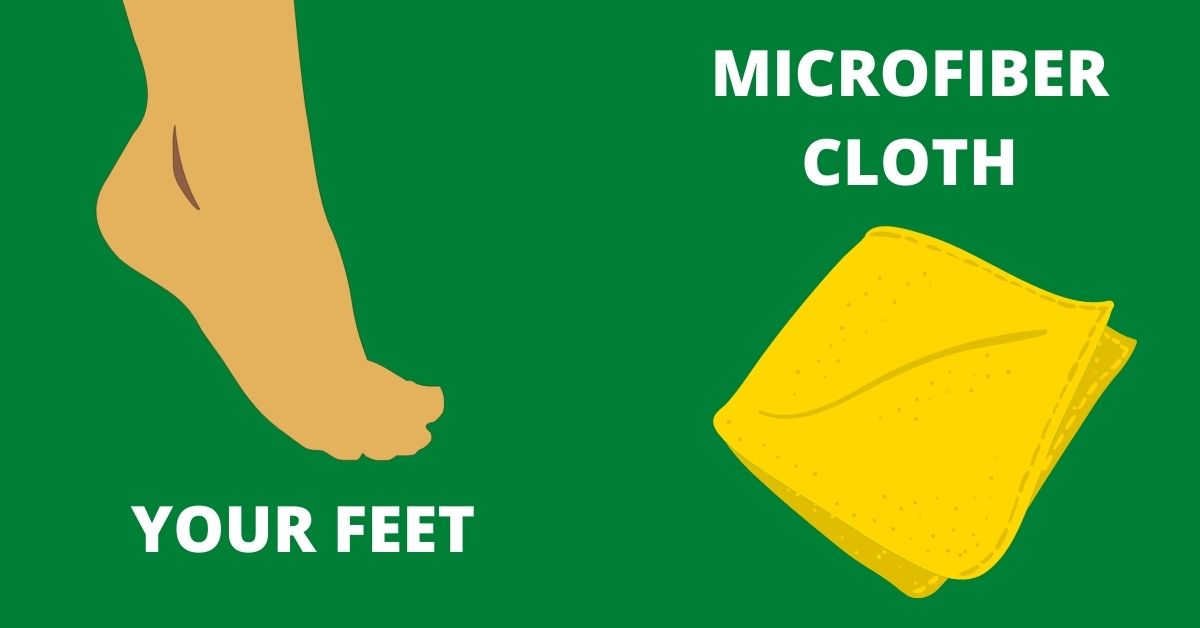
This is a simple method used in many Asian countries.
YOU’LL NEED
1- Damp Microfiber cloth or old t-shirt
2- Water
3- Cleaning solution
4- Bucket
STEPS
STEP 1- In a gallon of water (in a bucket), mix a floor cleaning solution (such as Fabuloso or Lysol or any other cleaner of your choice).
STEP 2- Damp a microfiber cloth with the solution you have created in the bucket. You can alternatively use an old t-shirt or a rag for this purpose.
STEP 3- Drop it on the bathroom floor and use your foot to wipe it over the floor. When you get tired with one leg, switch to the other foot. Work in small sections (one at a time, and move to the other one).
In this method, you won't need knee pads because you are standing and wiping the floor with the microfiber cloth using your feet.
STEP 4- When the microfiber cloth gets dirty, wash it and wring it in the sink or if you are using a bucket, change the bucket with fresh water.
STEP 5- Finally, wash your feet thoroughly after you’re done so as to avoid any chemical penetration in your skin.
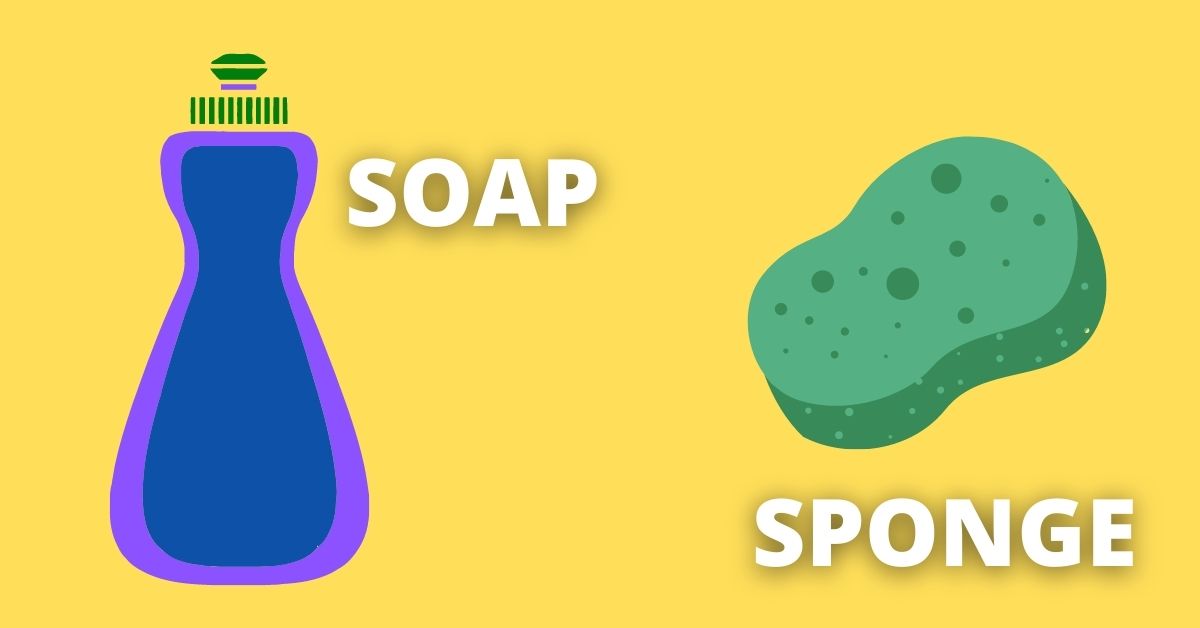
Method 2: Cleaning with a Soap & Sponge (While Kneeling)
This method is efficient for smaller bathrooms because you’ll see all the parts of the bathroom floor that are very dirty, and you can pay more attention to those parts. People often neglect the areas under the cabinets (if they have these in their bathrooms). These areas can be utterly gross. However, if your bathroom is spacious, using a sponge and soap can be time-consuming.
YOU’LL NEED
1- Vacuum cleaner
2- Kneepads
3- Water
4- Dish soap / Floor cleaning soap
5- Bucket / bowl
6- Sponge
STEPS
STEP 1- Before cleaning, ensure you have vacuumed the floor since you are likely going to kneel while cleaning. You may want to use kneepads to avoid bruising your knees.
STEP 2- Prepare a water and soap solution in a bowl or bucket; any floor-cleaning soap or a dishwashing liquid will do. Also, prepare another bucket or bowl of clean water that you will use to rinse the sponge while cleaning.
STEP 3- Dip the sponge in the soapy water and use it to scrub the floor thoroughly, using your two hands. Scrub in sections to easily separate the areas you have cleaned from the ones yet to be cleaned.
STEP 4- Throw away the soapy water solution as well as the clean water when it becomes too dirty, and prepare a new soapy water solution.
STEP 5- After cleaning, rinse the bathroom floor with clean water and allow it to dry.
Method 3: Using Wet Dry Vacuum Cleaner (While Kneeling)
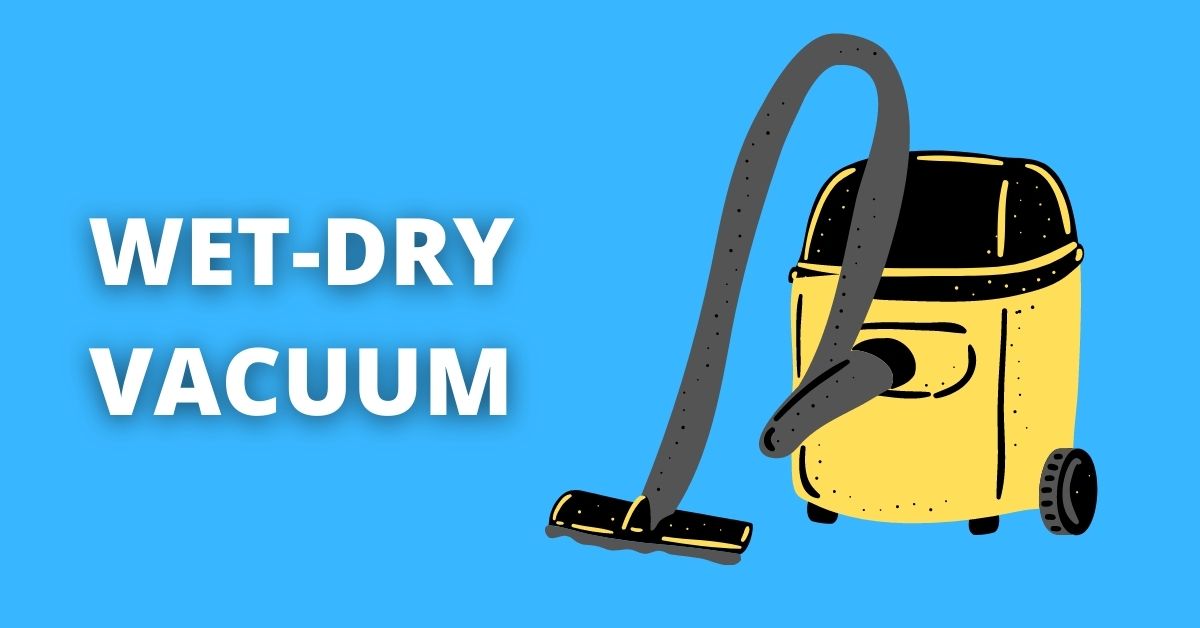
Vacuum cleaners have been around for a long time, and we can all agree that they are very efficient and make our life easier by making the cleaning process faster.
A Wet-dry Vacuum cleaner works by washing and vacuuming the floor at the same time. So this will serve the purpose of sucking up the dirt and well as washing the floor (while still sucking the water).
This means that the dirty contaminated water does get pushed onto the floor again and again.
Here’s the process:
YOU’LL NEED
1- Wet Dry Vacuum Cleaner
STEPS
STEP 1– Ensure the vacuum drum is empty before you start cleaning.
STEP 2- If your bathroom floor is wet before you begin cleaning, remove the filter on the vacuum cleaner, but if the floor is dry, ensure that it is correctly placed.
STEP 3- Turn on the vacuum cleaner, and vacuum the floor by cleaning and moving in sections.
STEP 4- If there are corners where the vac cannot reach, then use a sponge dipped in a solution of dish soap & warm water to scrub those corners.
That’s it, you now have a clean bathroom floor!
Method 4: Cleaning With Vinegar / Lemon Juice & a squeegee (While Kneeling)
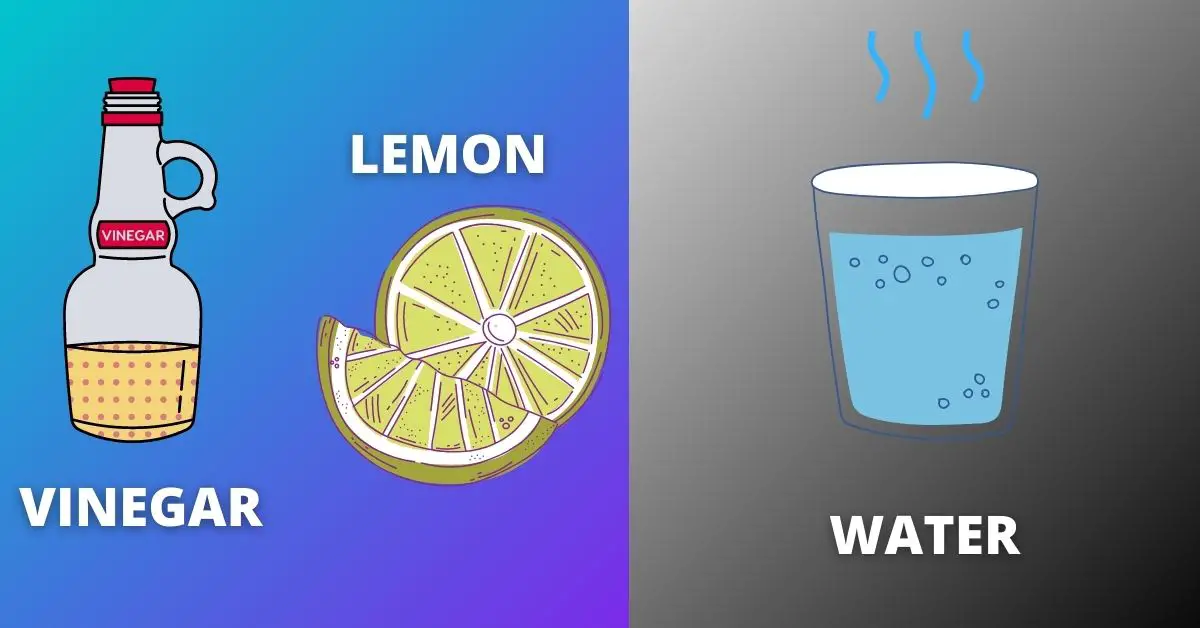
This method is for getting rid of grime and hard water stains on your bathroom floors which can make the floor slippery. Here we will simply use a good old rag instead of a mop. This method is safe for cleaning black bathroom floor tiles.
Vinegar is a popular cleaning agent that is readily available in the home, and it is suitable for cleaning different kinds of surfaces, including bathroom floors.
The citric acid in Vinegar does the job of breaking down grime and dirt while at the same time disinfecting. The same is true for lemons.
YOU’LL NEED
1- Vinegar / Lemons
2- Rag
3- bucket
4- Water
5- Squeegee
6- Sponge (Optional)
STEPS
STEP 1- Prepare a mixture of water and vinegar/lemon in a bucket using a cup of vinegar/lemon juice in a gallon of water.
STEP 2- Dip a clean rag in the mixture and use it to scrub the floor in sections. If there are hard water stains on the floor, you can replace the clean rag with a sponge and use it to scrub the stains out. You will either have to get down on your knees and hands or use only your feet to rub the floor.
STEP 3- You should notice the stains coming off with vinegar/lemon as you are cleaning. When all the stains have been removed, rinse the floor with water and use a squeegee to give the floor a wipe.
STEP 4- Finally, open the windows to allow ventilation (because the smell of vinegar can be awful and people generally can’t stand it) and to allow the floor to dry faster.
Method 5: Using Showerhead/Water Hose & Towel (Without Kneeling)
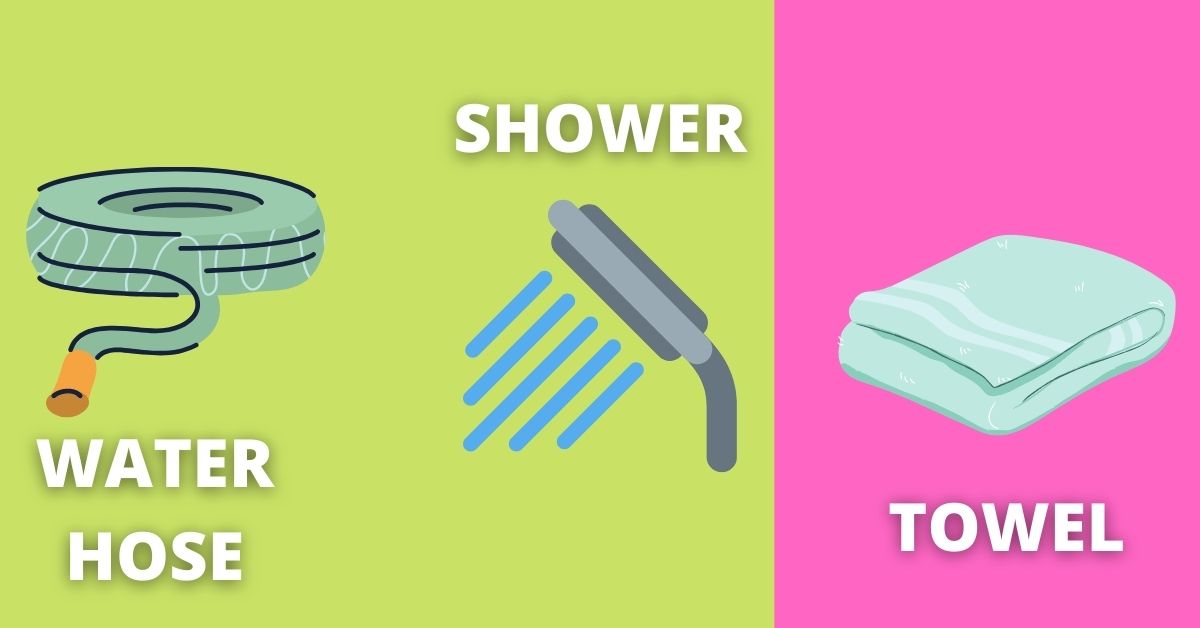
This is a pretty darn simple method and You should use it to quickly clean your bathroom floor when it is not too dirty. The pressure of water coming out from the hose or a showerhead should clean the dirt.
YOU’LL NEED
1- Water hose
2- Towel
3- Disinfectant (Optional)
STEPS
STEP 1- Get Your normal water hose, and attach it to the tap in the bathroom.
STEP 2- Point the hose toward those parts of the bathroom floor that you want to clean. If you are using the showerhead, do the same thing.
STEP 3- When it is evident that the floor is cleaner than before you started to clean, use a towel to dry the water on the floor.
STEP 4- Since the process only cleans the floor but does not disinfect it, you can get a disinfectant and spray it on the floor after cleaning.
STEP 5- Leave the disinfectant to sit for about five minutes and rinse with warm water.
Method 6: Cleaning with Ammonia & a Rag/Sponge (While Kneeling)
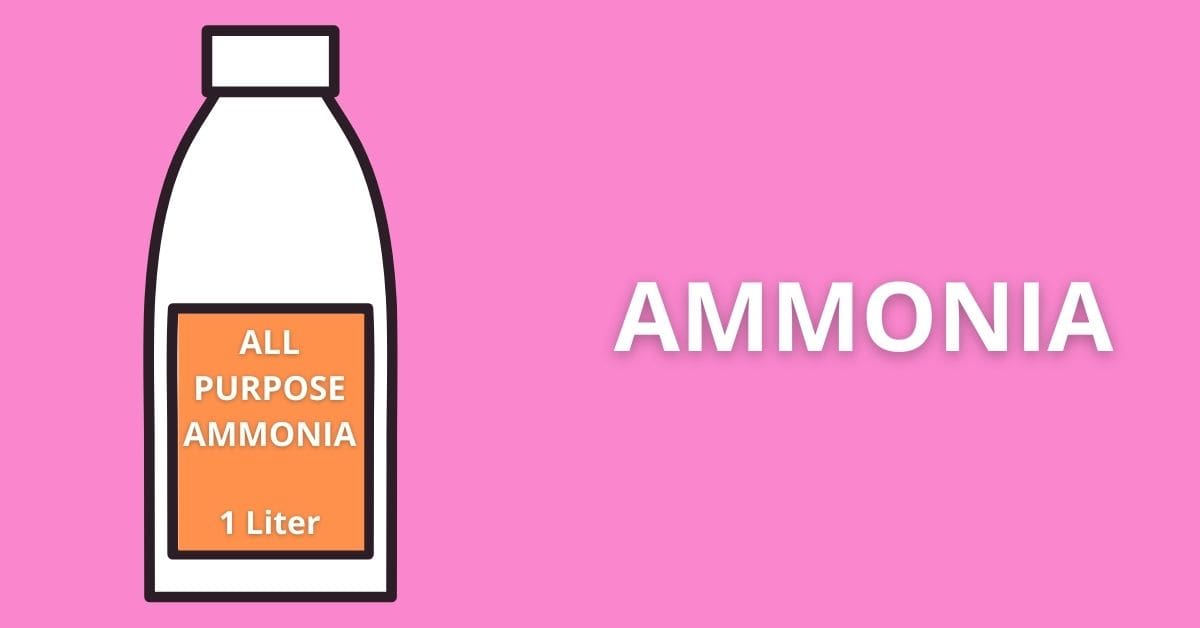
Ammonia is also an excellent cleaning agent that can be used for cleaning bathroom floors because it dissolves oil stains and breaks household grime easily. It also serves as a good disinfectant. In this method, we will apply Ammonia with a rag or a sponge.
YOU’LL NEED
1- Household Ammonia
2- Bucket/bowl of water
3- Clean rag / sponge
4- Rubber gloves, Mask, safety glasses
5- Soft scrub brush
STEPS
STEP 1- Wear your safety gear and open the windows to allow proper ventilation. This is to ensure that you are not exposed to the harmful effects of Ammonia.
STEP 2- Prepare a solution of ammonia and water by mixing an equal amount of each in the bucket. The amount of solution to be prepared will depend upon how big the area is.
STEP 3- Dip the sponge/rag in the solution, and squeeze out excess water until the sponge/rag becomes damp.
STEP 4- Use the sponge to scrub the floor. For stubborn floor stains, pour a little bit of your solution over the floor, and use a soft brush to scrub out the stains.
STEP 5- Repeat the process until the floor is clean. Rinse afterward with clean water to get rid of any ammonia residue.
CAUTION: Never try to mix Ammonia with Chlorine Bleach or any product containing it as that will produce a chemical reaction resulting in dangerous effects. (Source)
Method 7: Using Water & Bleach with a Rag (With or without Kneeling)
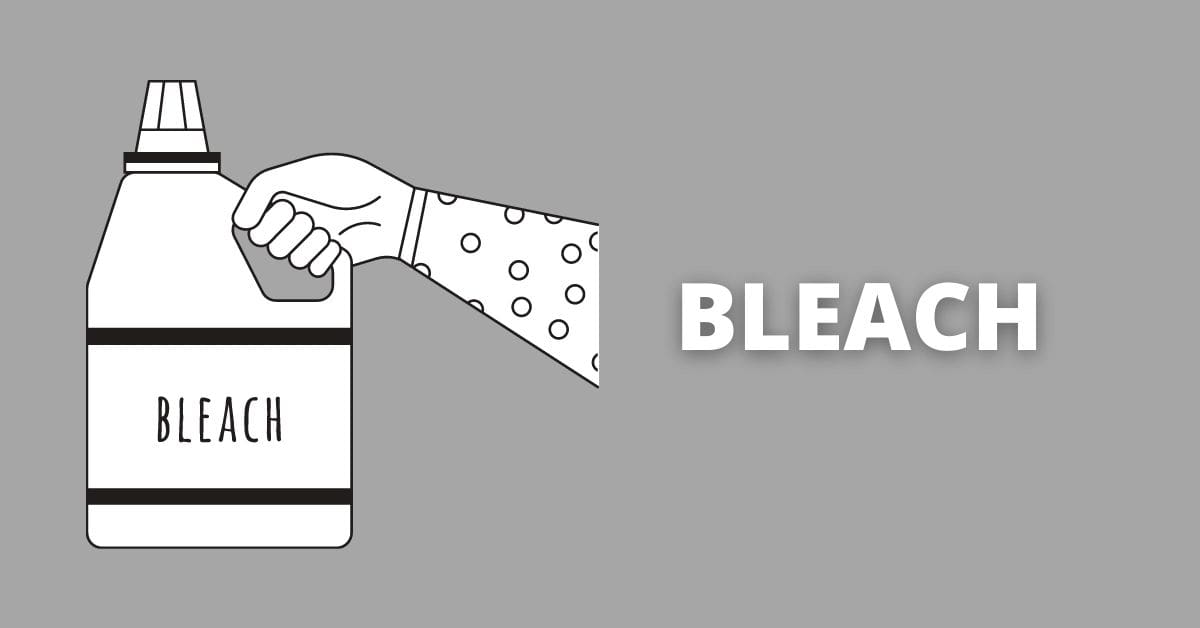
When using this method, you must take all the necessary safety measures to prevent any accident. Rubber gloves and face masks should be worn to protect you from the toxic emission of bleach.
YOU’LL NEED
1- Protective gear (Rubber gloves, Face mask/respirator)
2- Warm water
3- Bleach
STEPS
STEP 1- Open all windows and doors to allow proper circulation of air. Wear your safety gear.
STEP 2- Prepare a solution of water and bleach using one cup of bleach per five gallons of water.
STEP 3– Using a clean rag, apply the bleach solution to the floor, and let it sit for about 5 minutes to dissolve the stains and disinfect the floor since bleach is also a disinfectant.
Caution: If your bathroom floor is made of wood, you should not allow the bleach to sit on the floor for too long. It will cause discoloration as well as swelling of the wood. (Source)
STEP 4- Rinse afterward with clean, warm water to remove any bleach residue and leave the floor to dry naturally.
Method 8: Using Toothpaste (For Spot Cleaning & Grout Lines)
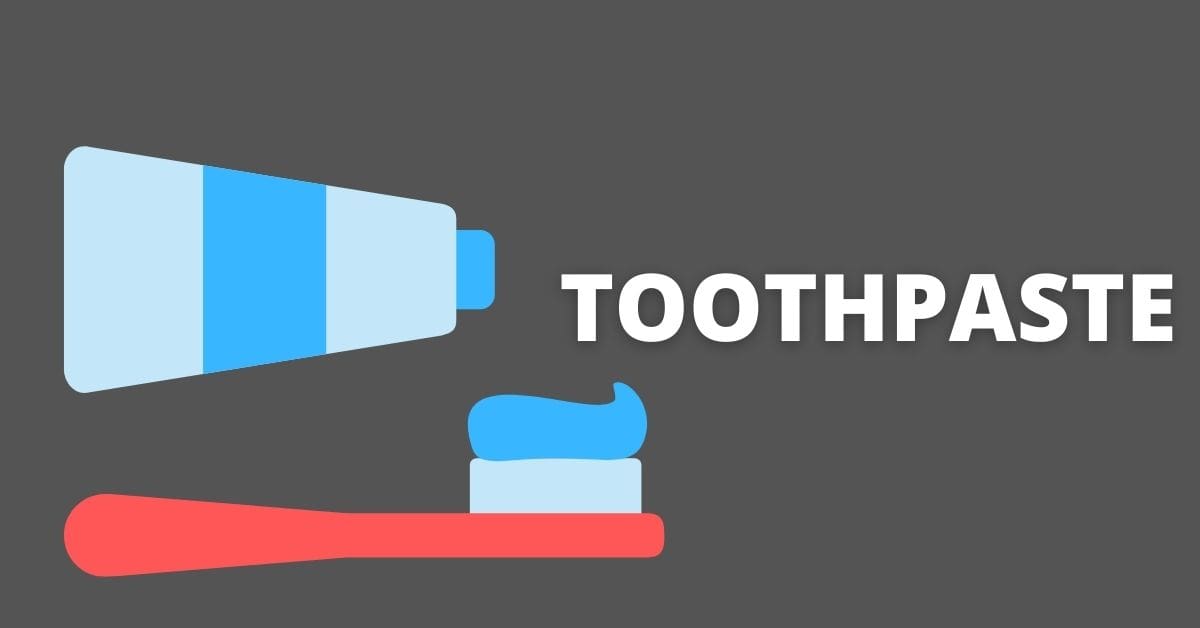
Toothpaste? Yes, you can clean your bathroom floor with the same paste you use to clean your mouth. This method is very cost-friendly and effective for cleaning the spaces between tiles (Grout lines) when they are dirty.
YOU’LL NEED
1- Toothpaste
2- Water
3- Toothbrush
STEPS
STEP 1- Sprinkle some water on the brush, and then apply the toothpaste to the brush.
STEP 2- Use the brush to scrub the dirty areas of the floor until the stains are no longer visible.
STEP 3- Rinse the floor with water afterward, and use a squeegee to get rid of excess water to allow the floor to dry quickly.
Method 9: Cleaning With a Shaving Cream (Little to No Kneeling)
Bathroom floors can be cleaned with shaving cream, especially when there is the smell of urine permeating every part of your bathroom.
YOU’LL NEED
Shaving Cream
Dustpan
Squeegee
STEPS
STEP 1: After clearing up the items lying on your bathroom floor, apply a layer of shaving foam all over the floor and let it sit for 15 minutes.
STEP 2: Use your squeegee to collect the shaving foam on your dustpan. Clean away the remaining foam from the floor and rinse it before allowing the floor to dry.
Conclusion
Using a mop certainly poses a challenge to cleaning bathroom floors with all the problems that it brings.
However, the alternatives are just as effective in cleaning those floors and even disinfecting them. You will have to bend down in a few methods while in others you won’t have to.