What gluing project are you up to? Are you going to glue together plastic laminate countertops in the kitchen or are going to work in the bathroom? Maybe you found some old brushes (that have gone hard) and you want to make use of them again but are unable to.
Anyways, whatever the case may be, I suspect that you have some cleaning to do. Your brushes are either stiff from the previous application of contact cement or you just used those brushes and want to make sure that you can use them again on your next project.
Am I right?
I have carefully researched and compiled a guide on safe and easy-to-use methods for removing contact cement from your application brush.
What is Contact Cement?
Firstly, what exactly is contact cement?
Contact cement is also known as ‘contact adhesive‘ or ‘Impact Glue‘ and is a neoprene rubber adhesive that creates a quick, flexible, and permanent bond on an item or between objects.
It can be used as an adhesive on a wide range of objects but works better for non-porous items and materials. It can be used on metals, rubber, plastics, glass, leather, etc.
Contact cement is most commonly used in homes to glue large surfaces such as plastic laminate countertops and tables and in areas of the home like the bathrooms and kitchens.
The nature of contact cement is that once it dries, it creates a tough and permanent bond that is extremely difficult to remove. This means that any leftover contact cement on your brush will harden the fibers of the brush and render it impossible to use.
You must clean off any excess contact cement on your brush once you are through with your application of the cement to your surfaces.
Cleaning all kinds of brushes after use is very important if you want to keep the brushes in good condition for future use, and this is even more important for the brushes used to apply contact cement.
How to Clean Contact Cement from Brushes (6 Methods)
Note: You should try to clean off as much glue as possible from your brush while it’s still wet and hasn’t dried. Use a paper towel or rag to remove the wet contact cement from the brush. If it dries, it will be very hard to remove.
The methods below are options for when your contact cement has partially or fully dried. You may also use them when the contact cement is still wet.
These methods should NOT be used with children or pets around, and around people with sensitive skin or breathing disabilities such as asthma.
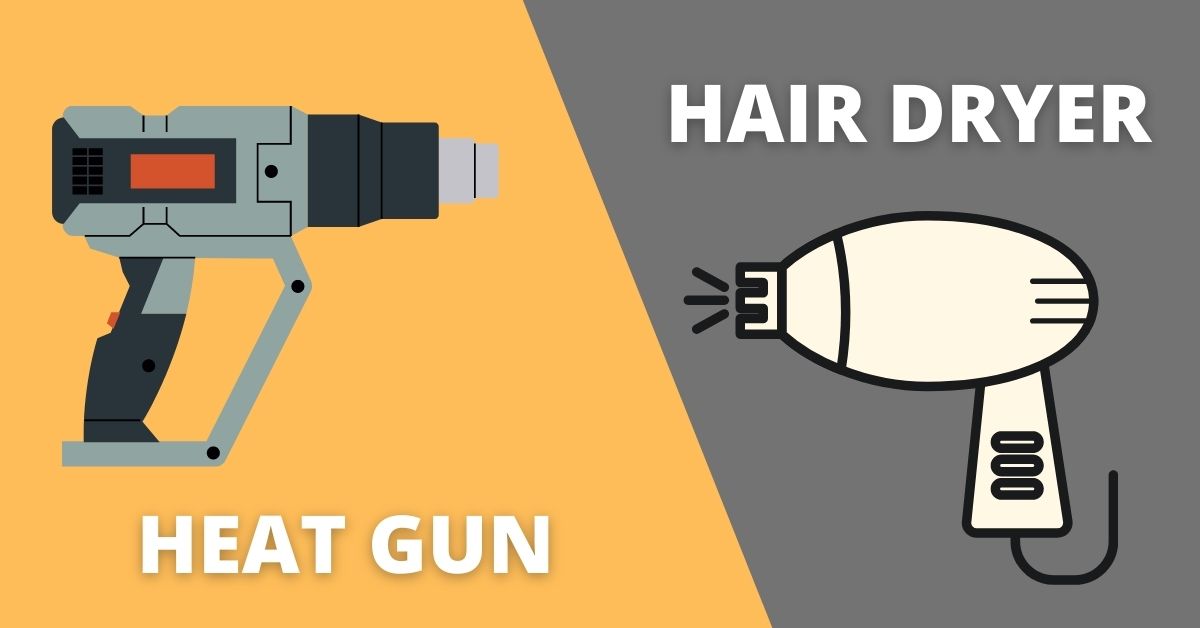
Method 1: Cleaning with Heat
CAUTION: Do NOT use this method to remove contact cement that has had solvents applied to it. Solvents tend to ignite easily and this can permanently damage your work and possibly cause injuries.
YOU’LL NEED
1- Protective gear (gloves, safety glasses, apron, face mask)
2- Heat gun/ Hairdryer
3- Stainless steel cuticle pusher
4- Hot water
5- Liquid detergent
6- Rag
STEPS
STEP 1- Wear your Protective gear (gloves, safety glasses, apron, and face mask).
STEP 2- Remove all flammable items from your immediate surroundings.
STEP 3- Use a heat gun or hair dryer to heat the contact cement on the brush until it softens up.
STEP 4- Use the stainless steel cuticle pusher to peel and push off the contact cement from the brush.
STEP 5- Wash the brush in hot water with liquid detergent.
STEP 6- Repeat this process till you have been able to remove most of the cement.
STEP 7- Pat your brush dry with a rag and allow it to air dry.
Method 2: Cleaning with Toluene
CAUTION: It is important you wear your protective gear and work in a well-ventilated area. You should also have a respirator to protect against fumes. This is the last resort option for extremely stubborn glue. You must ensure you wash your skin and surroundings thoroughly once done cleaning
YOU’LL NEED
1- Protective gear (gloves, safety glasses, apron, face mask)
2- Toluene solvent
3- Cup / bowl
4- Rag
5- Dish soap
6- Warm water
STEPS
STEP 1- Wear your Protective gear (gloves, safety glasses, apron, and face mask).
STEP 2- Pour a small amount of toluene solvent into an old cup or bowl.
STEP 3- Soak your brushes in the solvent for up to an hour before removing and massaging out the loosened contact cement with a rag dampened with Toluene.
STEP 4- Repeat this process until you have been able to remove most or all of the contact cement.
STEP 5- Wash your brush with dish soap and warm water. Pat dry with a rag and allow it to air dry.
Method 3: Cleaning with Solvable Cement Thinner
CAUTION: The product in this method may damage the bristles of synthetic brushes. You should also cover the work area and your immediate surroundings with rags to protect against splashes, droplets, and potential damage.
YOU’LL NEED
1- Protective gear (gloves, safety glasses, apron, face mask)
2- Rag / old cloth
3- Cement thinner
4- Old cup/bowl
5- Dish soap
6- Warm water
STEPS
STEP 1- Wear your Protective gear (gloves, safety glasses, apron, and face mask).
STEP 2- Dry your brushes with a rag or old cloth.
STEP 3- Pour a small amount of cement thinner into an old cup or bowl.
STEP 4- Soak your brushes in the thinner for 10 to 15 minutes.
STEP 5- Massage the contact cement out of the bristles and wipe the bristles with a rag that has been dipped in the cement thinner.
STEP 6- Repeat this process till you have been able to get most or all of the contact cement out.
STEP 7- Wash your brush with dish soap and warm water. Pat it dry with a rag and allow it to air dry.
Method 4: Cleaning with Acetone (Nail Polish Remover)
CAUTION: It is important you work in a well-ventilated area to protect against splatters, droplets, and accumulation of fumes in your home. Also, ensure to wash your skin and surroundings thoroughly once you are done cleaning.
YOU’LL NEED
1- Protective gear (gloves, safety glasses, apron, face mask)
2- Rag / Old Cloth
3- Acetone / Nail polish remover
4- Cotton ball / Paper towel
5- Dish soap
6- Warm water
STEPS
STEP 1- Wear your Protective gear (gloves, safety glasses, apron, and face mask).
STEP 2- Dry your brushes with a rag or old cloth
STEP 3- Pour a small amount of acetone into an old cup or bowl.
STEP 4- Soak your brushes in the acetone for 15 minutes.
STEP 5- Use a cotton ball or paper towel dampened with acetone to massage out the loosened contact cement from the bristles.
STEP 6- Wash your brush with dish soap and warm water, and then pat the brush dry with a rag.
Method 5: Cleaning with Naphtha (lighter Fluid)
CAUTION: You should ensure you use naphtha in a well-ventilated area to avoid inhalation and cover your work area with rags to prevent droplets or stains. Also, ensure to wash your skin and surroundings thoroughly after you're done with cleaning.
YOU’LL NEED
1- Protective gear (gloves, safety glasses, apron, face mask)
2- Rag / Old cloth
3- Lighter fluid
4- Old cup / bowl
5- Cotton balls / buds
6- Dish soap
7- Warm water
STEPS
STEP 1- Wear your Protective gear (gloves, safety glasses, apron, and face mask).
STEP 2- Dry your brushes with a rag or old cloth
STEP 3- Pour a small amount of lighter fluid into an old cup or bowl.
STEP 4- Soak your brushes in the fluid for 20 minutes.
STEP 5- Use a cotton ball or cotton bud dampened with the fluid to massage out the loosened contact cement from the bristles.
STEP 6- Wash your brush with dish soap and warm water to remove traces of the lighter fluid. Pat your brush dry with a rag and allow to air dry.
Method 6: Cleaning with Turpentine

CAUTION: This method is preferably used for wet and semi-dry brushes. It should only be used in a very well-ventilated area because turpentine has a pungent odor and may trigger breathing and skin issues in some people. You should wash your skin and environment thoroughly with soap after using Turpentine.
YOU’LL NEED
1- Protective gear (gloves, safety glasses, apron, face mask)
2- Rag / Old newspaper
3- Turpentine
4- Old cup/bowl
5- Stainless steel cuticle pusher
6- Dish soap
7- Warm water
STEP 1- Wear your Protective gear (gloves, safety glasses, apron, and face mask).
STEP 2- Dry your brushes with a rag or newspaper to remove loose paint hidden in the fibers.
STEP 3- Pour the turpentine into an old cup or bowl. Soak the brush in the turpentine for 45 minutes to loosen the contact cement.
STEP 4- Use the stainless steel cuticle pusher to work the loosened cement from the bristles.
STEP 5- Soak the brush for another 30 minutes and use the cuticle pusher again. Repeat this process until most or all of the cement is loosened and removed.
STEP 6- Wash your brush with dish soap and warm water to remove any remnants of contact cement and turpentine.
STEP 7- Use a rag to pat your brush dry and allow it to air dry.
Tips for Using Contact Cement

Here are a few important tips and tricks for you to take note of when working with contact cement.
1- Use your contact cement sparingly. It is more effective when less is used.
2- Use an applicator squeeze bottle or scraping method. Use a bit of scrap foam or old cards (such as an expired credit card or fake card) to scrape the contact cement over your chosen surface.
3- Allow the contact cement to dry fully and thoroughly. You will know it is dry when the shiny look of the cement fades.
4- Clean your messes or excesses with mineral spirits. You can use turpentine or a paint thinner and apply it to the surface, then scrape off with a cloth.
5- Always make sure you are wearing a respirator to protect yourself against the organic fumes of the contact cement.
6- You should spread your contact cement thinly and evenly to ensure the surface sticks properly.
7- If you choose a contact cement that needs to be thinned, use the same solvent as the one that the rubber of the cement is suspended in.
Conclusion
Contact cement is generally known for being a very tough adhesive, hard to remove on applied surfaces, and even harder to remove from applicator tools such as brushes. Hard, however, does not mean impossible. The above methods are sure to remove as much contact cement as possible from your brushes so you can use them again.
Also, make sure to apply the given Tips, the next time you work with contact cement.
Cheers!