Every drop of rain falls on 500 sq. ft of your roof which is equal to about 300 gallons of water. Have you ever thought of storing this water for future needs or emergencies? If yes, the next question is “where to store this water?”. In this article, we’ll see if you can store water in your trash can and how to make one yourself for conserving rainwater by yourself.
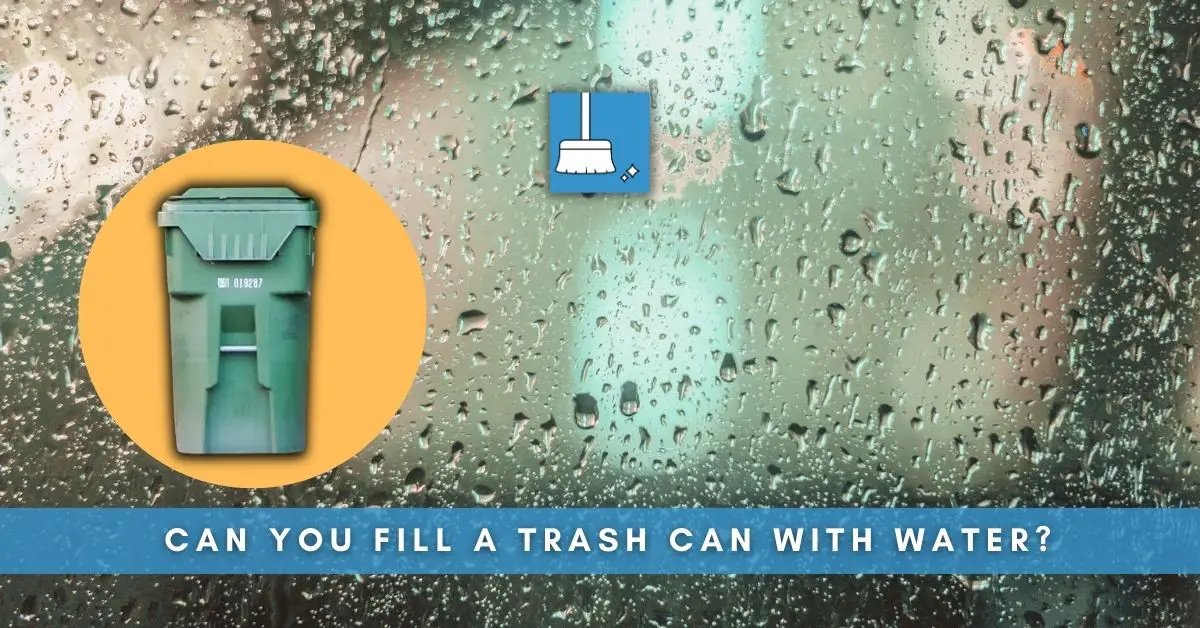
Can you Fill a Trash Can with Water?
You can fill a portable trash can with water without problems. Most people want to do this to use the trash can as a rain barrel while others just want to clean it up, and there are a few who may want to do this for all sorts of weird stuff.
Twelve to sixteen gallons can fit into a portable trash can. This means it can hold 45 to 60 liters of water.
Sort of Water that is Filled in a Trash Can!
Rainwater is a natural source of water that can be filled in a trash can. Spring water can also be filled in a trash can.
Other sources of water that can be filled in a trash can are:
- River water
- Water from ponds
- Well water
Optimal Type & Size of Trash Can to be Used to Fill Water!
A plastic trash can can hold water and it’s perfect for fixing a rain barrel. You can also go for an aluminum trash can but it has its disadvantages.
The size of your trash can depends on three major things:
- The amount of water you want to store or save up.
- The number of people in your home.
- The purpose of the trash can served before you decided to use it to store water.
Usually 60 gallons of water is needed per person per day in normal U.S homes. If you are considering using your old trash can, you can make use of with what you have in your house. The usual kitchen trash can fills up 12 to 16 gallons (45-60 liters) of water while Bigger ones can hold 20-30 gallons (75-113 liters). (Source)
4 Reasons You Want to Store Water in a Trash Can
Here’s why people might need to use trash cans for storing water:
1- To Cut Down Expenses on the Water Bills: The amount you pay for your water bill has increased and you can not meet up. The average median costs of a water in a U.S household is about $35 per person per month. This is $420 per annum for a single person. If you’re a family of 4, you can save about $1600-1700 a year.
To cut costs and save more, you can store rainwater in your trash can and use it for specific purposes around the house.
2- You Have Exhausted the Water Supply: You may have run out of water supply and you can’t wait another day without water. Storing water in a trash can serves a good purpose this time of an emergency.
3- You Have Emptied Your Water Heater: You might have used up the water in your water heater due to a shortage of water. Storing water in the trash can, can save you in times like this.
4- To Prevent Lack: You would rather be on the safe side when you encounter water shortage or the lack of it.
Storing water in a trash can prepares you and give you the water you need in those unseen times.
DIY Trash Can Rain Barrel
Conserving rainwater is a simple yet effective way to save water and cut expenses on your water bill. An easy way to do this is by converting your trash can into a rain barrel.
Here’s a step-by-step guide on how you can turn your trash can into a rain barrel.
Tools & Materials
1- Drill
2- Hole saw or step bit
3- Bulkhead Adapter
4- Rain barrel spigot kit
5- Teflon tape
6- Trash can (with removable lid).
Step-by-step Method
STEP 1- Pick a Trash Can of your Choice: For a start, choose a trash can that is about 55 gallons in size and a can with a lid or cover will be much better. Ensure the trash can is clean and free of any debris.
STEP 2- Drill a Hole: The next step is to drill a hole using the drill and hole saw/step bit. The recommended size of the hole saw is 1 ⅜ inch.
The hole should be about two to four inches from the bottom of the trash can. To drill the hole, lay the garbage can on its side and let the tool do the work. Do not apply too much pressure.
STEP 3- Install the Bulkhead Adapter: The bulkhead adapter is the main component that allows water to flow out of the rain barrel.
To install the adapter, first, place the gasket onto the bulkhead adapter. Then, insert the adapter through the hole you drilled from the inside of the barrel.
On the outside of the barrel, screw on the other end of the bulkhead adapter and tighten it securely.
STEP 4- Fix the Spigot: Apply a little Teflon tape to the threads of the spigot. This will help to prevent any leaks at the connection point.
Make sure to apply the tape in the opposite direction that you will be screwing the spigot in. For example, if you will be screwing the spigot clockwise, apply the tape counterclockwise. Thread the spigot onto the bulkhead adapter and tighten it securely.
STEP 5- Add Additional Teflon Tape: Remove the spigot and wrap it with additional Teflon tape for a watertight connection. Reinstall the spigot.
STEP 6- Test the Connection: Once everything is installed, turn on the hose and test the connection for leaks. If there are no leaks, you have successfully converted your trash can into a rain barrel!
Final Thoughts!
A trash can be filled with water for cutting down the water expenses and for emergencies.
The easiest means of getting water is through the rain which is preferable to have a rain barrel for storing water.
Following the DIY methods explained above, you will have your trash can converted into a rain barrel ready for use!