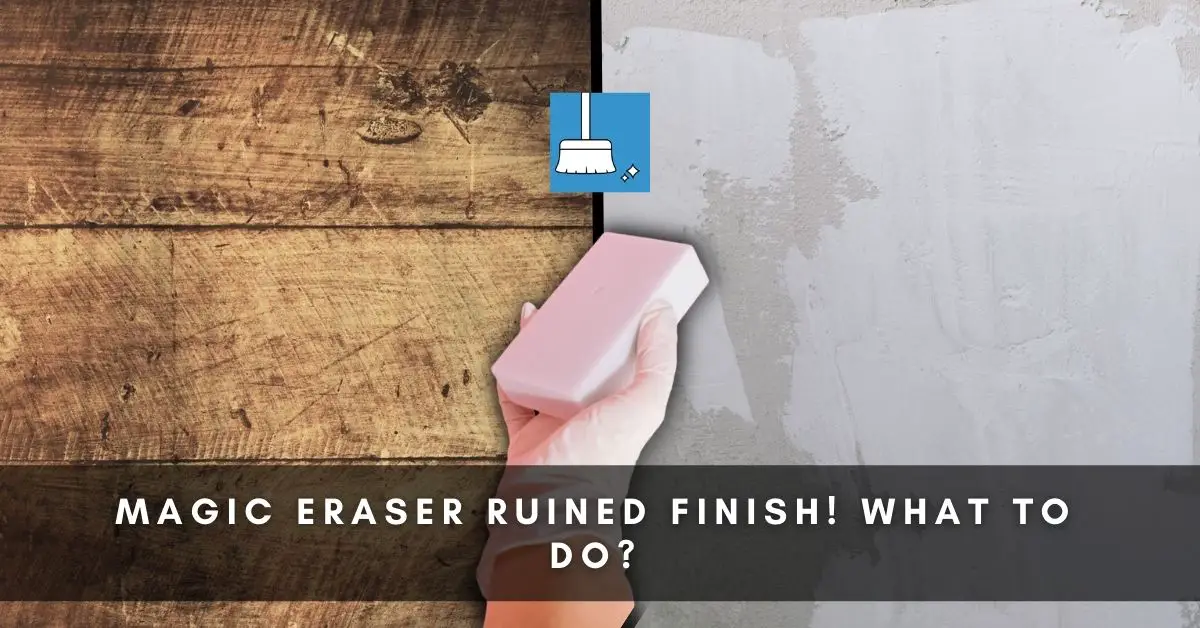
Magic erasers can be quite abrasive sometimes, because of the melamine foam they are made from, and as such, they can work a little too well on some surfaces and ruin the finish of the surface you were trying to clean.
This leaves you with dull scratches that damage the beautiful finish of your furnishings.
In this article, we’re going to explain what to do (step-by-step) when a magic eraser ruins the finish of your wooden cabinets, wooden flooring, and painted walls.
Magic Eraser Ruined Finish! What To Do?
When you’ve made the mistake of using a magic eraser on a surface like wood or painted walls, you instantly notice scuff marks and scratches on the finish of that surface.
However, When this happens the most important thing to do is to examine the finish to confirm how bad the damage is.
To do this, shine a flashlight on the surface and run your hands on the surface to feel the extent of the damage and properly see how much of the finish is ruined.
The extent of the damage will determine how you fix the problem.
Light scratches
Light scratches are usually not deep enough to be felt when you run your hands on the finish. This means the damage is minor and just on the top coat of the wood.
For most people, this is the kind of damage that magic erasers will create on their finish and luckily this can easily be fixed with pretty easy steps
Deep Scratches
If you’ve applied a little too much pressure while using the magic eraser, you’ll notice the sponge creates deep scratches that you can feel when you run your hands on the surface.
This kind of damage on your finish will be very visible and will have you thinking about getting new furniture. But you can still fix it, although it’s going to require a little more time and effort.
Restore Wooden Cabinet Finish Ruined By Magic Eraser
Wooden cabinets are quite expensive and they add an aesthetically pleasing look to your home furnishing. This is why it can be quite frustrating when you ruin finish while trying to use a magic eraser to clean it.
The damage on the wooden cabinet finish can easily be fixed using various methods given below.
Method 1
This method is effective in covering light scratches and will restore the finish on your wooden cabinets. It requires a product you probably already have in your home.
Just follow the steps below:
Step 1: Wipe off any excess dirt and debris from the surface of the wood using a clean microfiber towel.
Step 2: Grab a few pieces of raw walnuts and remove the shell, then firmly rub the walnut into the Scratched or damaged area to fill in the surface.
The natural oils of the walnuts will dull and reduce the intensity of the scratch with its wood-like color and this will restore the sheen and color of your cabinet finish.
Step 3: Rub the scratched area with your fingers to warm up the surface and let the oils penetrate the wood.
Step 4: Let the oils from the walnut settle on the finish for a few minutes, then wipe off all the excess walnut debris from the cabinet using a soft rag. The damage to your finish should disappear after this.
Note: This method works best on lighter shade shades of wood and might not be very effective if your wood cabinet is a darker shade like sherry.
Method 2
If you have a darker shade of wood or the damage on your finish is very intense, then this method is a great way to cover up those nasty magic eraser marks on your wood finish.
It will restore the color and shine of your cabinet and all you’ll need is a fill stick, some touch-up marker, and the steps below:
Step 1: Use a clean cloth to wipe down the cabinet and remove any dirt debris on the surface.
Step 2: Pick out a fill stick that matches the wood color of your cabinet.
Step 3: Light up a magic stick and use it to heat the top of the fill stick for a few seconds. This will make the application easier.
Step 4: Rub the fill stick on the scratched area of your cabinet. Be sure to apply firm pressure, so all the major scratches are properly filled.
Step 5: Using a plastic blade, scrape off the excess fill stick residue from the surface. Doing this will also level up the surface.
Step 6: Next, use a soft towel to gently wipe off any additional residue.
Step 7: To add some color and shine to the finish, choose a furniture touch-up marker that matches the shade of your wooden cabinet. Then lightly touch the marker to the areas where you applied the fill stick.
Step 8: Lightly rub your fingers on the areas you’ve applied the marker, to buff out any excess marker. Your wooden cabinet should be restored to its beautiful shiny glory.
Method 3
Magic erasers are very abrasive and if you’ve applied a little too much pressure when used on a wooden cabinet, You may have created major deep pitted scratches on the finish.
This type of damage will require a more detailed refinishing process and this method will guide you through the process.
Just follow the steps ahead!
Step 1: Apply some mineral spirit on a soft towel and wipe down the wooden cabinet, to clean off any accumulated dirt residues on the surface.
Step 2: Using light grit sandpaper, gently sand the affected area in straight stokes.
Ensure to sand in the direction of the grain of the wood. Do this until the scratch on the is fully buffed off and blended in.
Step 3: Next, apply a furniture finish like Restor-a-finish to a soft towel. Then slowly rub the finish onto the area you have sanded in straight long strokes.
Be sure to choose a finish that is similar in color to the shade of your wood.
Step 4: To restore the shine to your cabinet, apply a few drops of beeswax to the cabinet with a towel.
Step 5: Leave the beeswax on the cabinet for an hour to let it set, Then finally buff off all the excess oil with a fresh towel.
Fix Wood Floor Finish Ruined By Magic Eraser
Wood floors are a favorite choice of flooring that most people choose for their durability, however, they are not completely damage-proof.
So, when you make the mistake of using a magic eraser on your wood floor, you’ll end up with very bad scratches that ruin the finish on your flooring.
However, the damage on your finish can be fixed and we’re going to highlight the best ways to deal with a marred wood floor finish.
Method 1
For minor scratches on the finish of your wood floors, this easy method is a great way to cover up the damage from the magic eraser without having to do a complete refinishing.
All you’ll need is some wood stain, a soft rag, and the steps below:
Step 1: Apply a small amount of mineral spirit to a clean rag or towel and wipe over the floor to remove any excess debris from the surface.
Step 2: Apply some wood stain to a towel and rub the stain into the scratched area of the floor till the scratch on the finish disappears.
Be sure to choose a stain color that’s very similar to the color of your wood floor.
Step 3: Buff any excess stain on the floor with the dry end of the towel.
Method 2
The magic eraser may have created deep scratches on the finish on your wood floor and these shallow scratches will require a bit more effort to restore.
This method will help you fix any deep scratches and scuff marks on your wood floor.
Just follow the steps below:
Step 1: Clean off any accumulated dirt and debris by wiping the floor with some mineral spirit and a soft rag.
Step 2: Apply some painter’s tape all around the area you intend to fix.
Step 3: Then, evenly add some wood filler into the scratch using a putty knife. Wait about an hour for the wood filler to dry.
Step 4: Lightly sand the area with very light sandpaper in gentle strokes. Do this till the scratch is fully buffed off.
Step 6: Apply some wood stain to a clean towel rub it into the sanded area to restore the color.
Step 7: Allow the stain to air dry and then buff out any excess stain with the towel. Now take a look at the seamless finish on your wood floor!
Fix Painted Wall Finish Ruined By Magic Eraser
Magic erasers can be very abrasive when used on a painted wall and will leave your wall with a marred finish and uneven paint job.
When this happens though, there are some great options you can use to fix your wall and we’re going to highlight them below.
Method 1
This method is great for minor scratches on your painted wall and will even out the paint job on your damaged walls. All you’ll need is some toothpaste and cotton swabs.
Follow the steps below to use this method:
Step 1: Use a soft rag or towel to wipe off any debris and dust from the affected area.
Step 2: Apply some toothpaste onto a cotton swab.
Step 3: Rub the toothpaste into the scratched area evenly.
Step 4: Using a flat-edged table knife, smooth the toothpaste onto the wall and lightly scrape off any excess.
Step 5: Finally, let the toothpaste air dry and then buff dry with a clean towel.
Method 2
Magic eraser removes some of the paint on your wall and for most wall finishes such as gloss paint or flat paint, the most effective way to restore your finish is to repaint the walls.
This method can be time-consuming and a bit expensive, but it is guaranteed to fix the problem and leave you with shiny new walls.
You will have to repaint the entire wall as trying to repaint only the affected area will make the difference even more glaring.
For this method, you can always hire a professional to apply a fresh coat of paint, but if you decide to do it yourself, then follow the steps below to get it done properly
Step 1: Choose a paint color and finish that matches the one you already have on your walls.
Step 2: Apply wall putty to any holes or areas damaged by the magic eraser if it has caused deep scratches.
Step 3: Allow the putty to dry and then lightly sand over the surface you’ve applied the putty with sandpaper.
Step 4: Remove everything in the room you intend to paint.
Step 5: Then use painter’s tape to mask off any areas of the wall you don’t want to get paint on.
Step 6: Lay down a drop cloth to protect your floors while you paint.
Step 7: Using a paint roller brush, slowly apply two coats of paint on the wall in straight lines. Use a small painter’s brush for the corners and edges.
Step 8: Let the paint dry completely before arranging everything back into the room.
Conclusion
Magic erasers are most people’s go-to cleaning tool when trying to remove stains, however, you’ve likely learned the hard way how abrasive they can be to the finish of some surfaces. Apart from the above mentioned surfaces, magic erasers can also leave scratches on stainless steel.
Now that you know how to fix any damage on your finish, you can rest easy with the knowledge that you know exactly what to do when a magic eraser ruins your finish.