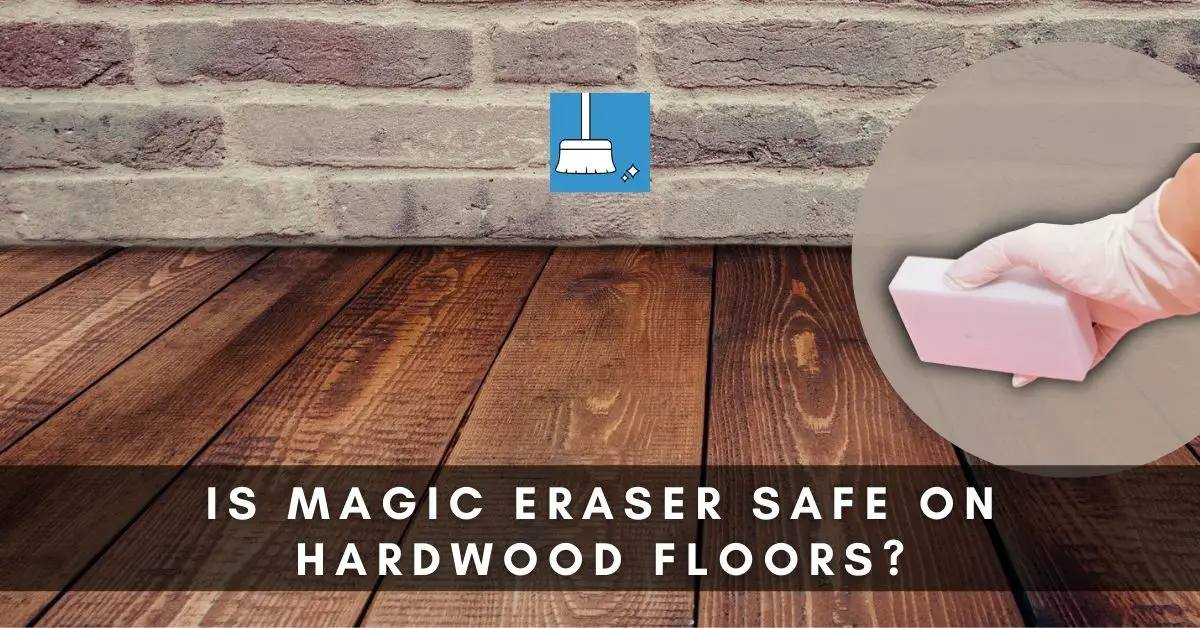
Although Magic erasers are our go-to cleaning product when any cleaning urgency comes up in our homes, but are they are meant for hardwood floors.
In this article, we have answered the above question and also compiled effective and simple ways you can remove magic eraser marks (if any) from your hardwood floor.
Is Magic Eraser Safe on Hardwood Floors?
Magic Eraser is not safe for hardwood floors. Magic erasers work like sandpapers when activated for cleaning and that’s not what you want on your hardwood floors. That level of abrasiveness will damage your hardwood floor’s finish, leaving it dull and unattractive.
The area cleaned with a magic eraser will look different compared to the whole floor which will be upsetting every time you look at it. And this isn’t easy to fix, as you would have to refinish the floor.
You may need to sand down and recoat or call the hardwood floor manufacturer before it can be fixed.
Magic eraser is also not the best for hardwood floors because it often leaves marks and residues behind.
So even if you are gentle with the eraser and don’t scratch the floor, you can still leave ugly scuff marks on the floor. They can appear like white marks making your floor look dirty and scratched.
This is easier to fix than when the hardwood floor finish is removed.
It is best to stick to non-bleaching and non-abrasive products when cleaning hardwood floors. Although magic erasers don’t contain bleach, they are abrasive, however.
How to Fix Magic Eraser Marks on a Wood Floor?
These methods are not only good for removing magic eraser marks from hardwood floors but they also remove other scuff marks that may be on the floor.
Method 1: Baking Soda & Olive Oil
Baking soda is a household product great for cleaning. It contains no chemical or toxic substance that can damage your health or your floor.
Not only will it remove magic eraser marks and other marks from your floor, but it is also good for removing grease, spills, and other kinds of dirt.
You just have to ensure it doesn’t spend too much time on your hardwood floor so it doesn’t seep into it.
YOU’LL NEED
1- Baking soda
2- Soft towels
3- Olive oil
4- Water
STEPS
STEP 1: Make a paste with baking soda and water, and use a soft cloth to apply it to the magic eraser marks.
NOTE: If the paste isn't thick it won't work and it might also spread to other areas and cause a mess. So don't mix in too much water.
STEP 2: Let the paste sit on the magic eraser marks for about 60 seconds. Then rub it on that area with a soft towel. Do it in circular motions.
STEP 3: After rubbing it for about 5 seconds, use a towel dampened with warm water to remove the paste from your hardwood floor.
NOTE: Baking soda residue left on your floor for a long time can cause stains and some damage. So ensure you clean it well.
STEP 4: Now apply some olive oil to the area you just cleaned. This returns your hardwood floor’s smooth and shiny finish, making it look like new, and also ensures that any baking soda residue is totally gone.
Dip two fingertips into the olive oil and rub it into your floor between 3 to 5 seconds buffing it well.
Method 2: Steel Wool, Mineral Oil, and Toothpaste
YOU’LL NEED
1- Toothpaste
2- Steel wool
3- Mineral oil
4- Towels
5- Wax
STEPS
STEP 1: Use your fingertips to apply some mineral oil to the magic eraser marks (Just enough to make the area wet). If mineral oil isn’t available, you can use soapy water.
But use little and be careful so the water doesn’t seep into the wood and expand it.
The purpose of applying a liquid first is to make the steel wool wet so it doesn’t damage the wood while sanding.
STEP 2: Use 0000-grade steel wool to buff the area with the magic eraser marks. The scratches and marks the magic eraser may have left are evened out. Don’t rub too hard so you don’t add to the scratches and don’t sand the areas you haven’t applied mineral oil to.
If steel wool isn’t available, you can use sandpaper of about 1000 grit.
STEP 3: Sometimes the marks left by the magic Fraser is beyond scratches. It may leave deep white marks that have seeped into the wood. The sanding reveals that and you can deal with it.
You can do this by putting some non-gel toothpaste on the white marks.
STEP 4: Use a damp rag to rub the toothpaste on the marks for about 10 seconds. You can do it longer if the marks are deep. Ensure you do it in circular motions to get a good result.
STEP 5: Use a clean damp rag to remove the toothpaste from the floor and dry it off with another clean towel.
STEP 6: The steel wool and toothpaste would have removed the finish of the wood a bit so recoat it with wax to restore your hardwood floor and make it shiny again.
Method 3: Glass Cleaner & Mayonnaise
It might sound strange but Mayonnaise works great at removing scuffs, stains, and marks from hardwood floors including magic eraser marks. And you don’t even need to use too much or wait that long.
Glass cleaners are also quite effective and when combined with mayonnaise, your hardwood floor looks like new and does not even need to be reported or refinished.
You just have to ensure you use a glass cleaner that is free of ammonia. Ammonia can strip the wax or finish of your hardwood floor and you wouldn’t like that.
YOU’LL NEED
1- Mayonnaise
2- Ammonia-free glass cleaner
3- Dishtowel
4- Non-scratch sponge
5- Microfiber cloth
STEPS
STEP 1: Apply some mayonnaise on your hardwood floor and use your fingertips to spread it on the magic eraser marks.
STEP 2: Let it sit on the marks for 15 minutes. Give it time to work. If the marks have been there for a long time and could have gone deep, let it sit for a longer time.
STEP 3: Use a dish towel to wipe the mayonnaise off your hardwood floor. Sometimes, these 3 steps are enough to get rid of the marks but if you still see them faintly, continue with the next steps.
STEP 4: Spray some ammonia-free glass cleaner of your choice on the floor and let it sit for a minute. Give it time to loosen the magic eraser residue that may be left. So it can be cleaned up.
STEP 5: Use a non-scratch dish sponge to scrub the marks gently, in circular motions. It would have loosened up by now, so don’t put too much pressure on the sponge.
STEP 6: Use a microfiber cloth to remove the glass cleaner and magic eraser residue that has loosened up. And you are done.
Final Thoughts!
Hardwood floors are easy to clean and maintain if you know which products to use and not to use.
Stick to non-abrasive products and whenever you clean, ensure you don’t leave the products used on your hardwood floor for a long time. They can leave residues and stains even if they aren’t abrasives.
Magic eraser marks may look like they’re not going anywhere, making your hardwood floor look unattractive, but this issue can be fixed. We have explained in detail the methods you can use and the easy steps to follow.

