Do you have a trash can that’s missing its wheels? Don’t throw it away just yet! It’s a common problem that can be easily solved with a quick DIY fix. Whether you’re tired of struggling to drag the can around during yard work or just looking for added stability, replacing its missing wheels is a great solution. In this post, we’ll show you how to replace the wheels on your trash can with materials easily found at your local hardware store or online.
Reasons why trash can wheels become damaged or missing
Over time, trash can wheels might become damaged or missing.
This could be due to a variety of reasons, such as natural wear and tear, rough usage, or even animals trying to get into the garbage.
The weight of heavy loads might also put pressure on the wheels. [1]
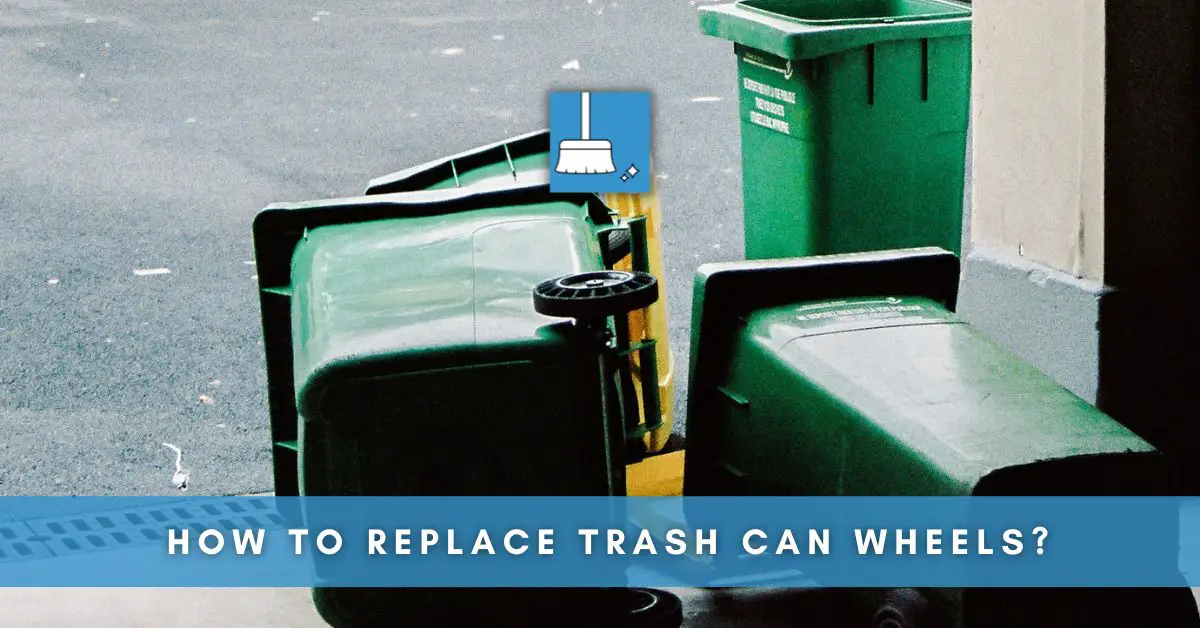
How to Replace Trash Can Wheels?
Step 1- Checking the extent of damage on the trash can wheels
Before attempting to replace the wheels on your trash can, it’s important to check the extent of damage first.
Inspect the wheels to see if they are merely dirty, stuck, or if they require a full replacement. Look for cracks, wear, or missing parts such as bolts or washers that could cause the wheels to fail.
If the damage is minimal, it might be possible to repair the wheels instead of replacing them entirely.
By determining the extent of the damage, you can save time and money by avoiding the purchase of unnecessary replacement wheels. [2]
Step 2- Identifying the necessary tools & materials needed for replacement
You will need a flathead screwdriver, rubber mallet, and PB Blaster to penetrate any rust or corrosion.
Additionally, you will require new wheel and pal-nut replacements, glue, and epoxy. It is important to make sure that the replacement wheels are compatible with your existing trash can model and that they match the size of the existing wheels.
Step 3- Remove the old wheels
Start by turning the trash can on its side so that the wheels are easily accessible. Depending on the model of your trash can, the wheels may be attached with locking tabs or screws.
Use pliers or a screwdriver to remove these attachments, and then gently pry the old wheels off of the axles.
Be careful not to damage the axles or the can itself in the process. Once the old wheels are removed, you can move on to attaching the new ones. [3]
Step 4- Attaching the new wheels
This step involves placing the new wheels onto the axles and securing them with washers and cotter pins.
Make sure the new wheels are of the correct size and material as the old ones. It’s important to use the required tools and materials for this step to ensure the wheels are attached securely.
Step 5- Securing the new wheels in place
After you have attached the new wheels to the trash can, the next step is to secure them in place. This is an important step as it ensures that the wheels do not come off easily while the trash can is being moved.
To secure the new wheels, you could use a wrench to tighten the nuts and bolts that hold the wheels in place.
Additionally, you could also consider using a lock washer to prevent the nuts from slipping. It’s crucial to ensure that the wheels are tightly secured to the trash can to avoid any mishaps while in use. [4]
Step 6- Run a Test
Once the new wheels are in place, test them to make sure they rotate smoothly and without wobbling.
It’s also a good idea to double-check that the wheels are properly attached and secured, so they don’t come off while in use.
Essential things to consider before acquiring replacement wheels
Before acquiring replacement wheels for your trash can, an essential thing to consider is the compatibility with your trash can model and size.
Different trash can models and sizes require specific wheel dimensions, so it’s crucial to ensure that the replacement wheels you’re getting fit your trash can.
Additionally, consider the quality and durability of the wheels. Look for materials that can withstand harsh outdoor conditions without deteriorating over time.
Budget is also an important factor to consider, as some replacement wheels can be pricey. However, investing in high-quality and durable replacement wheels can save you more money in the long run by avoiding frequent replacements. [5]
Maintenance tips to ensure the longevity of the newly replaced wheels
After replacing your trash can wheels, it’s important to maintain them to ensure their longevity.
One key tip for maintenance is to clean the wheels regularly to prevent buildup of dirt and debris. You can use a bristle brush to scrub off stubborn dirt and grime.
Additionally, lubricating the wheels with a silicone spray or grease can help prevent rust and keep the wheels functioning smoothly.
Another important thing to keep in mind is to avoid overloading the trash can, which can cause unnecessary strain on the wheels.