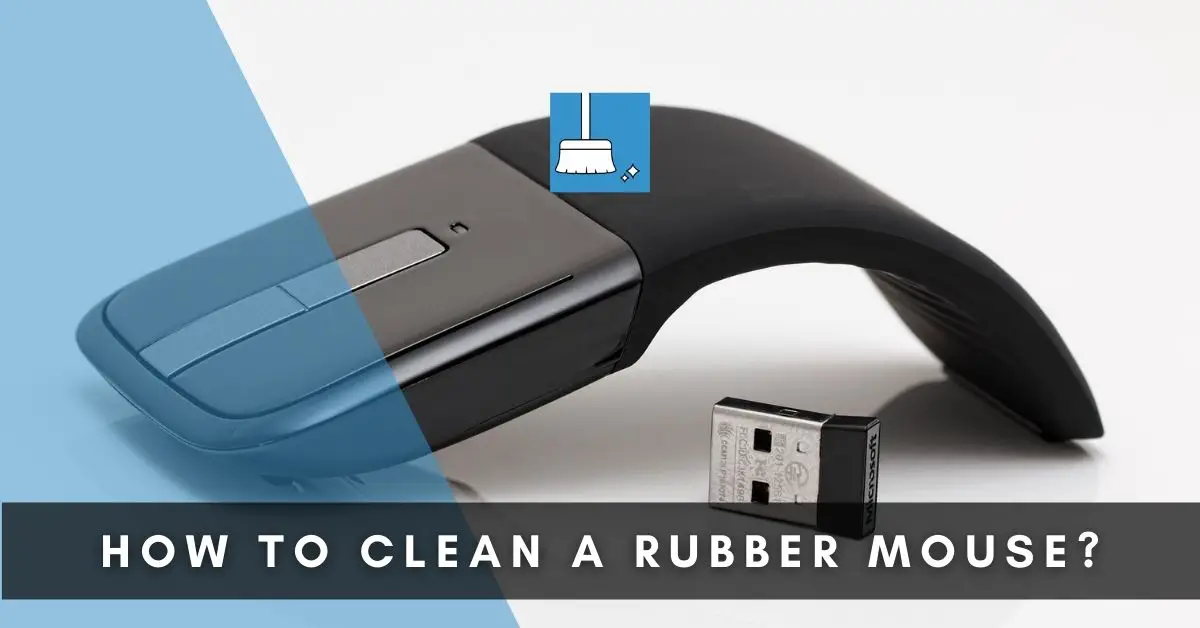
Rubber is a versatile material used in almost everything but, it seldom ages well. Rubber-coated mice, like those rubber keycaps, eventually become tacky and sticky, and they collect dust.
The issue is that rubber degrades over time due to contact with skin and different substances, thus creating a gum-like layer. While this ruins its aesthetic appeal, it doesn’t mean the mouse isn’t salvageable. Even if your rubber mouse appears to be deteriorating, you do not have to throw it out and buy a new one. You only need to clean it the right way.
Although, cleaning can be tricky as you do not want to overdo it and ruin the rubber coating completely. In this article, I will share the most effective methods for cleaning a rubber mouse. So keep reading to find the best techniques and tips for you.
How to Clean Your Rubber Mouse (4 Methods)
Method 1: Use Denatured Ethyl Alcohol
The most popular method for cleaning rubber is using alcohol, but not just any alcohol. It’s best to use denatured ethyl alcohol or rubbing alcohol, which are often used for cleaning purposes.
The alcohol will disinfect the mouse, removing dust and bacteria, and it will also help remove the degenerated layer of rubber.
Rubber coating usually becomes sticky because the top layer breaks down over time, so alcohol should smooth that layer right off.
WHO IS IT FOR
Alcohol is an efficient solution if you want something quick, effective, and takes only one ingredient.
Alternatively, you can use alcohol wipes or white vinegar, but make sure to wipe down your mouse with a microfibre cloth at the end to remove any excess.
YOU’LL NEED
1- Microfibre cloth or an old t-shirt
2- Rubbing alcohol or Ethyl alcohol
3- Cotton buds
STEPS
STEP 1: Dab some of the alcohol onto the microfibre cloth or any cloth that won’t leave any fibers behind.
STEP 2: Rub the coated parts of the mice, you should see a black residue on your cloth.
STEP 3: Let it dry and repeat as necessary.
STEP 4: Use cotton buds for the scroll wheel and toothpicks to get any bits of dust out of the corners.
STEP 5: Make sure not to soak with too much alcohol, you do not want to let any liquid into the crevices.
Method 2: Use Acetone For a Stronger Solution
This method uses acetone or nail polish remover instead of rubbing alcohol. Acetone is quite strong so, I would use it if the rubbing alcohol is not strong enough for the damage.
Similar to alcohol, it is flammable, so avoid hot surfaces and protect the surface you are working on.
WHO IS IT FOR
If you think your mouse is too far gone, then this might be the appropriate method for you. Although, if your mouse is new or costly, you might not want to risk something as strong as acetone.
YOU’LL NEED
1- Acetone (Nail-Polish Remover)
2- Microfibre cloth
3- Extra rag
STEPS
STEP 1: Protect the surface you are working on.
STEP 2: Dab some of the acetone onto the cloth and rub the mouse intensively.
STEP 3: Repeat this step 2-3 times.
STEP 4: Use a clean cloth to rub off the excess.
Method 3: Try Car Care Products
For a more unconventional method, car care products are a great solution for rubber. Similar to other rubber surfaces, your rubber mice can get dirty, and suffer from discoloration and damage.
But a car product like Armor Protectant wipes can be used to restore and revitalize the rubber.
WHO IS IT FOR
If you want to avoid using products with an unpleasant odor, then using car care products may be a better option. They are also more gentle, they are readily available and help the rubber maintain its grip.
YOU’LL NEED
1- Armor All Original Protectant Wipes
2- Extra cloth
STEPS
STEP 1: Use the wipes to clean the surface of the mouse and remove the degraded coating.
STEP 2: Repeat multiple times and wipe away the excess.
Method 4: Don’t Overcomplicate It
This last method is simple, so before going all out with every product you can first try water and soap. This method is not harsh, and it doesn’t require much, but it is still effective for cleaning a rubber mouse.
WHO IS IT FOR
If you want a cost-effective and easy technique, then you should try this option. It might not return the rubber to its previous texture, but it should clean it well.
YOU’LL NEED
1- 3 drops of liquid dish soap
2- 1 cup warm water
3- Toothpicks
4- Sponge
5- Dishrag or cloth
STEPS
STEP 1: Mix a few drops of liquid soap into a cup of warm water.
STEP 2: Use a sponge to rub the coating with the solution. Ensure that it isn’t fully soaked to avoid getting liquid in the crevices.
STEP 3: Rinse the sponge with clean water and repeat until most of the grime and stickiness is gone.
STEP 4: Use a toothpick to clean the crevices.
STEP 5: Wipe the mouse dry.
How to Maintain Your Rubber Mouse
Now that you have cleaned the rubber mouse, you want to maintain it and help the rubber last as long as possible. It’s best to opt for a protectant to keep the rubber from degrading and getting tacky.
Something like the 303 UV Protectant Spray can help keep your rubber mouse from getting dirty and staining easily. What’s great is that it is a rinse-free, matte product that should work well on a mouse.
YOU’LL NEED
1- 303 UV Protectant Spray
2- 2 Cloths
STEPS
STEP 1: Use a cloth to protect your surface.
STEP 2: Spray the rubber mouse with the protectant and use a wet cloth to remove any excess.
STEP 3: Wipe the mouse dry and buff with a dry cloth.
Conclusion
Once you’ve found the best method for your device, you want to make sure you clean it regularly by wiping it down now and then. Rubber naturally grows into a sticky substance with time, so you want to take care of it.
I’ve shared the most well-known and practical methods for cleaning a rubber mouse, and they should save you from having to buy a new mouse.
Finally, you also want to focus on sustaining the color and texture with a protectant.


