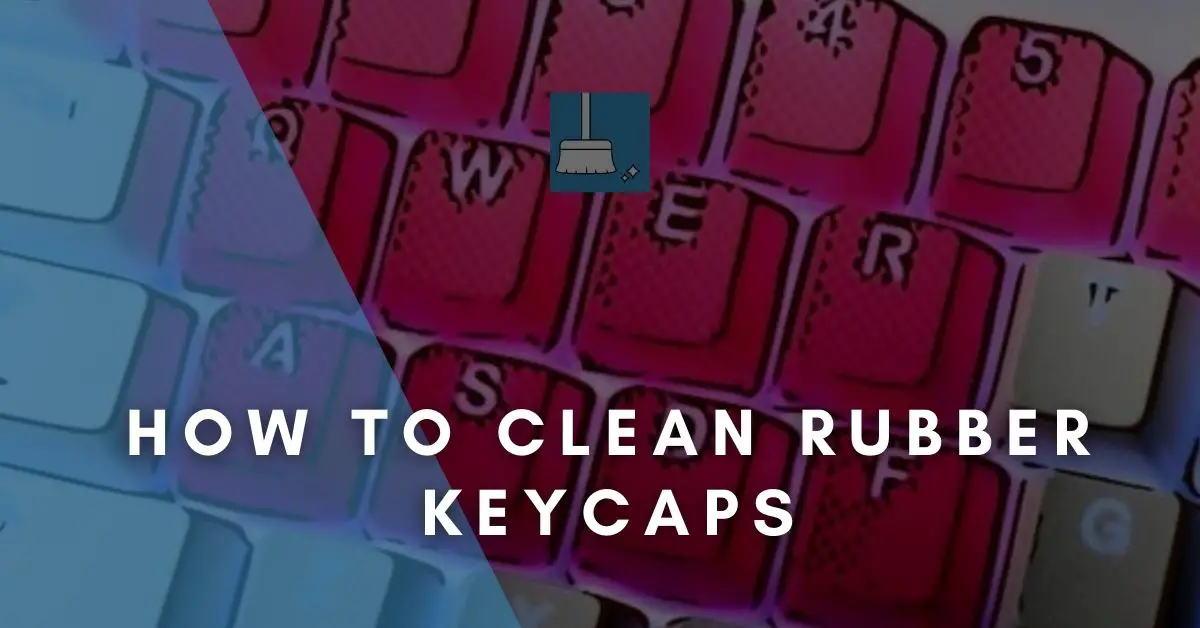
Rubber keycaps are definitely fancy when it comes to looks but they come with a bit of a price. Dirt gets settled over them, popping out, as they are usually light-colored. This is definitely not the best condition of your keyboard and hence the keycaps need to be cleaned.
Why Do Rubber Keycaps Get Dirty?
Rubber keycaps need cleaning after some time due to the accumulated dirt on them due to these reasons:
1- Excessive Use
If you are a gamer, you know what I am talking about. When you put the colored rubberized keycaps in solid use for 2-3 months, they tend to get darker. Of course, the darkness is the dirt.
2- Grooves on the keys
The grooves or patterns on the rubber keycaps are there for a reason and that is to provide friction and a non-slip experience to the user.
But in time, this dirt gets ingrained in these grooves which may result in a pathetic look on the keyboard.
How to Clean Rubber Keycaps (14 Steps)
YOU’LL NEED
1- A bowl, cooking dish, or sink
2- A bleach-free cleaning soap
3- Clean fresh water
4- Microfiber cloth
5- Wire keycaps remover
6- A smartphone camera
7- An electric cooker or gas cooker
STEPS
STEP 1: Disconnect Your Keyboard from its power source. To start with, take electricity precautions before anything.
If you are making use of a desktop computer, Unplug your keyboard from your monitor’s USB port or PS/2. If are making use of a laptop computer, shut down the device. This is to ensure that you are safe while working on your keyboard alone.
STEP 2: Take a picture of your Keyboard. You would have to remove the keycaps to be able to clean them effectively, hence, take a picture of your keyboard before removing them.
This would help you know the right layout for fixing them back after cleaning. Alternately, if a camera isn’t handy, look up the layout of your keyboard brand online.
STEP 3: Remove Your Rubber Keycaps. Cleaning your keycaps starts with yanking off the keycaps. However, to avoid making the mistake of damaging the keycaps, do not try pulling them out with your hands, it could cost you some bucks to replace.
Instead, invest in getting the right tool to pluck them out. Most people often go for a screwdriver, however, use a wire keycap remover. It lets you pull out keycaps of different sizes, effortlessly.
The tool has two main sides that hold on to the keycaps while you wriggle right and left till it comes off.
STEP 4: Do Not Remove The Sensitive Keys. Some keys might have special wires stabilizing them. Removing them might damage the keys and stop them from ever functioning right.
These keys comprise majorly of the large keys, such as Shift, Enter, Backspace, Spacebar Capslock, Tab, and Ctrl keys. This does not imply that you wouldn’t clean them; they just require special attention.
STEP 5: Place The Keycaps In a clean bowl. It doesn’t necessarily have to be a bowl, it could be a cooking pot or clean sink, Just a container that you are comfortable working with.
STEP 6: Pour some warm water into the bowl and add some detergent. Avoid adding bleach or bleach-based cleaners, since rubber keycaps, could fade away with them.
Ensure that the water isn’t too hot or cold for it to work. Leave the keycaps in the water for around 5 hours.
STEP 7: Wash the keycaps with a soft scrub of your hands and filter the water out.
Alternately, you can take the keycaps out of the bowl and place them in another clean bowl of fresh water.
STEP 8: Get a stiff bristle brush and dust off the dirt hanging on the keyboard itself. Turn the keyboard upside down and shake it to get the dust out of it.
STEP 9: Thoroughly, rinse the keycaps till they are clean. Ensure that there is no amount of detergent or cleaner left on them. If you notice that there is dirt after rinsing, work on them with a soft toothbrush.
STEP 10: Allow the keycaps to dry naturally. Avoid wiping with a towel, tissue paper, or paper wipes. It could leave some residue on the keys that can stick to them.
Lay the keycaps out in the open with the stems facing up, to make sure that all water dries off. This wouldn’t take much time, depending on the temperature at that moment. Usually, it should be completely dried within 3 hours.
STEP 11: Dip a clean microfiber cloth into soapy warm water and wring it. Carefully clean the large sensitive keys with the cloth. Prevent water from going into the keyboard.
Afterward, rinse the cloth in clean fresh water and clean the large sensitive keycaps with it. Allow them to dry off naturally.
STEP 12: Insert the keycaps back to their original position. Carefully compare the picture that you have of your keyboard to your arrangement while working on it. Take note of the direction that the keys are facing as well.
Once you have placed them in the right position and direction, gently, push the keys back into the keyboard.
STEP 13: Reconnect your keyboard to your computer’s USB port or PS/2 connect. If it is a PS/2 connector, fix the right cords into the right ports.
STEP 14: Turn on your computer and try to type with your keyboard to see how it functions.
Keyboard Maintenance – Tips
1- Always cover your keyboard with a soft fiber cloth after use.
2- Avoid eating close to the keyboard to prevent crumbs of food from going into it. Combing or brushing your shoes near the keyboard could also lead to hair and dust making their way into your keyboard.
3- Avoid drinking next to the keyboard to prevent spilling drinks on it.
4- Always clean your keycaps without removing them before and after every use. You can blow out the dust with a hand hair blower once every week before they get terribly dirty. Get some cleaning wipes with which you can wipe after use.
5- Use a disinfectant on your keyboard twice a week.
6- Place your computer in a location that attracts less dust.
7- Keep your hands clean while using your keyboard. Clumped-up dirt would be difficult to remove, so better to prevent it as much as you can.
Conclusion
Rubber keycaps are trendy and nice to have. Cleaning them is not rocket science. You just need the right tools and safety precautions. The above steps are totally safe and will make you proud of yourself after you get those keycaps spotlessly clean.


