Adding dish soap to drywall mud has always been controversial amongst professional drywall finishers and DIYers. Many individuals are averse to this trick and see it as a low-budget and quality degrading method to ensure that the mud mix is sleek and the moisture is retained after coating to reduce its drying time.
Also, based on others’ experiences, this method has been successfully applied without any mess or glitches. This disparity in opinions can be confusing as you do not want to take chances while handling your wall finishing.
Wondering why this method worked for some and was a disaster to others? In this article, we’ll be answering your questions about adding dish soap to drywall mud. Ready to glean? Leggo!
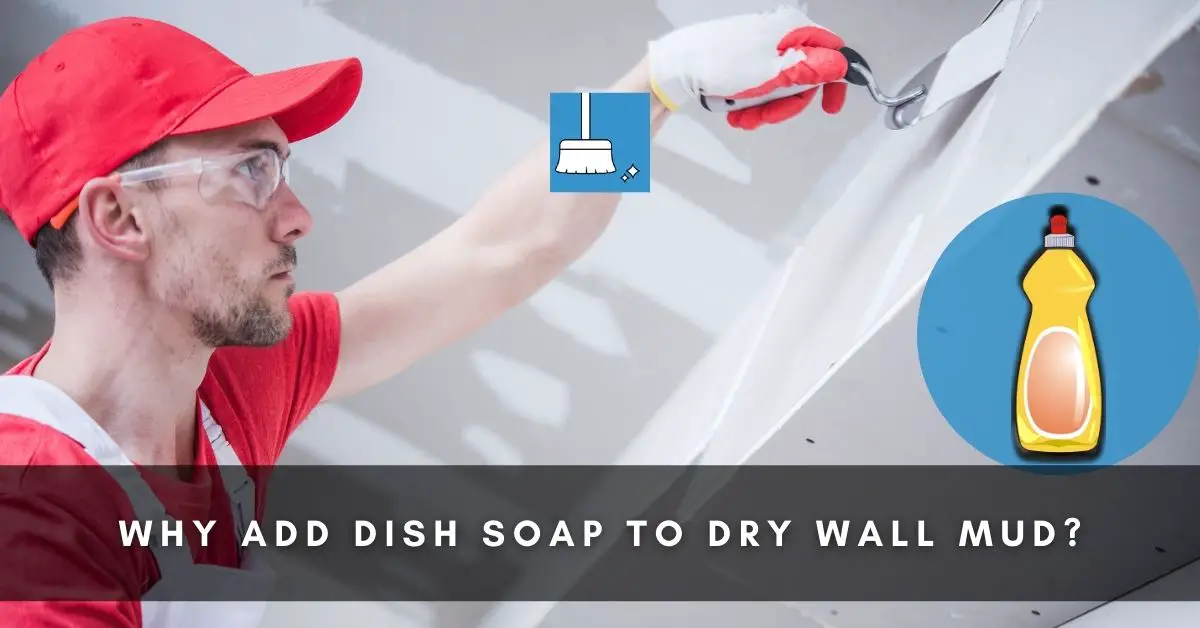
Why Add Dish Soap To Dry Wall Mud?
The top reason dish soap is often included during the mudding mix is to make the mud smoother and firmer, especially during application. This trick comes in handy in ensuring that the mud adheres to the wall and does not come off on the brush during a roll.
Additional Reasons to Add Soap to Drywall Mud
Here are other reasons why:
1- It Eliminates or Dramatically Reduces Air Bubbles
Air bubbles are one nightmare In mudding. Usually, when a first coat is applied, it isn’t uncommon to see a few tiny boils here and there (as a result of trapped air that could not be absorbed by the wall being taped).
Nevertheless, the air bubbles may disappear after skimming through with the knife after the third coat.
Skimming with a knife requires exerting strength and can hurt the shoulders. With the right amount of dish soap in the compound, the mixture thins out, and air bubbles would be significantly eliminated, reducing the process of skimming.
2- It Reduces the Hassle of Washing the Tools
Drywall mudding is all fun and games until it’s time to get the tools cleaned up.
When the compound gets dried on the brush, roller, or mixer, getting it off requires grit in washing to restore that neatness to your tools, and sometimes you might require soaking the tools (depending on how long you’ve let the mud dry).
Soap in mud retains the moisture and reduces how long the dirt gets stuck and hard on the tools.
3- It Makes the Mud Smell Good
Drywall taping does not have to be dry and dull; with a bit of fragrance in the compound, working can be more enjoyable.
Great scents are said to be mood-lifters, and during work, they help boost your drive.
Dish soap is usually formulated with perfumes that would have the compound smelling nice and improve your mood while taping.
What Causes Dish Soap In Drywall Mud Disasters?
1- Adding Too Much Soap
Because this mudding tip has not gotten enough traction, there’s no handbook or guide on how to undertake this method.
For this reason, individuals use their initiative to gauge the amount of dish soap that should be used, and more often than not, they tend to pour more than required, leading to a frothy mud mixture, and the compound is highly thinned out, causing sanding problems.
2- Adding Too Much Water
Sometimes, the issue is not with the presence of the dish soap; it could also be a result of mixing the compound with too much water.
This is a typical mistake owing to the fact that a lot of people (especially when you are still relatively new to this job) may not be familiar with how thick the mix should be.
Too much water would make it either runny or cause the wall to crack when it’s dried. The goal is to have a creamy-like paste. Do well to keep that in mind when mixing the compound with water.
How Much Soap Can You Add To Drywall Mud?
When asked this question, people often give responses like “the right amount”, “a little amount”, “a few squirts”, or “a few drops”. Those answers obviously do not provide a specific measurement that can work with.
To determine how much soap you should add, it is essential to know how many gallons the bucket of drywall mud is.
You should also remember that the dish soap addition is just like a seasoning to the compound –it makes it better.
This means that you do not need to add a lot to get that desired creamy texture and achieve the other benefits mentioned above.
It is usually recommended to add a 250ml full cup of dish soap into a 5-gallon sized bucket. You could increase the amount by half a cup when the gallon size is larger.
Step-by-step Guide On Mixing Dish Soap With Drywall Mud Powder
YOU’LL NEED
1- Safety goggles
2- Rubber gloves
3- Respirator
4- Dish soap
5- Drill
STEPS
STEP 1: Don on your safety goggles, rubber gloves, and respirator.
STEP 2: Uncover the bucket of the drywall mud powder
STEP 3: Read the manufacturer’s instructions: pour the right amount of water and use a drill to mix thoroughly.
STEP 4: Pour a 250ml cup of dish soap into the bucket.
STEP 5: Pick up the drill and mix for about 1-2 minutes till the dish soap blends in excellently.
STEP 6: You would notice that the compound has a sleeker appearance and texture.
STEP 7: With that accomplished, you are set to start coating.
How Do You Make Drywall Mud Stronger?
1- Mix the Drywall Mud Powder Thoroughly
Smoothening the powder excellently is essential in giving it a long-lasting stay on your wall. It doesn’t just make coating seamless but also strengthens the mixture.
Do well to always use a drill in mixing rather than mechanical mixing; it gives a thorough blend in the end.
2- Include Glue into the Mix
Another pertinent tip that can help a drywall mud powder discovered to be non-adhesive is to add white glue into the mix.
How do you do that? Pour the glue into a 250ml glass halfway and fill it with water.
Stir the mixture with a spoon, pour it into a bucket, add the remaining required amount of water suitable for the amount of drywall mud powder to be used, and then use a drill to blend it all together.
You would discover that your drywall mud powder is strengthened and would stick better with no cracks.
3- Apply Thin Coats
One of the significant rules drywall mud finishers or tapers should always bear in mind when it comes to this craft is: never rush the work.
Trying to find shortcuts would only spoil the work and inevitably bring you back to ground zero. With that said, when applying the coats, ensure that they are being applied thinly.
Thin layers would be strong enough to hold subsequent layers. Do not make the mistake of using thick coats for the sake of convenience because it would end up bulging, cracking, and maybe, falling off.
4- Tape the Joints
The seams of the walls are significant when mudding. They play a definite role in holding the compound on the wall. It is advisable to apply tape before the first coat and after the final composition is laid.
Final Thoughts!
The dish soap has been seen and tested by drywall mud finishers and tapers to be a trusted method.
To get it right, we’ve learned in this article to use the right amount aside from other essential tips that would help strengthen your drywall mud.