Like most things, porcelain tiles will acquire dirt with time; with grimy stains in the grout or dust and debris from daily foot traffic.
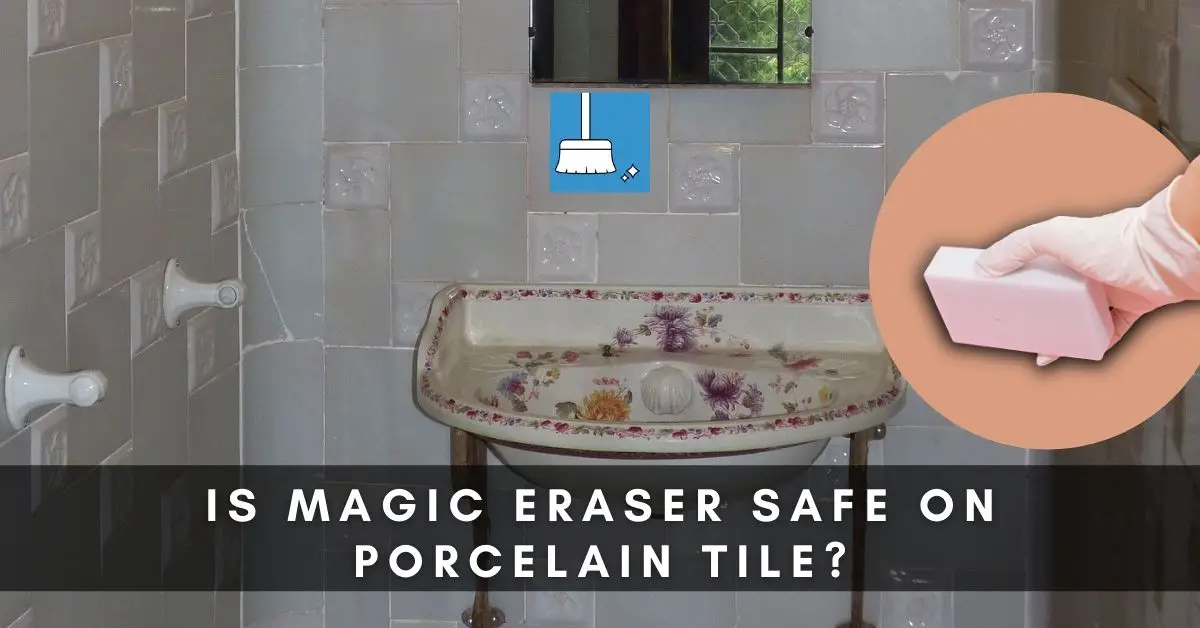
While trying to clean their porcelain tiles, some might consider using the notorious magic eraser to get the job done. But is the handy-dandy magic eraser safe on porcelain tiles?
In this article, we’re going to see if it is safe to use a magic eraser on porcelain tiles, how to use it, better ways to clean porcelain tiles, things to avoid on such surfaces, and some extra tips.
Is Magic Eraser Safe On Porcelain Tiles?
A magic eraser is safe to use on porcelain tiles because the melamine foam material it is made from, has micro scrubbers that give it its light sandpaper-like abrasiveness and a porcelain tile is made from highly durable material with a finish that is resilient to this kind of light abrasiveness, and as such a magic eraser is not going to cause any scratch or damage to the tiles.
How To Use Magic Eraser On Porcelain Tiles?
Now that we know the Magic eraser is safe to use on porcelain tiles and will not cause any damage, it is still imperative to make sure you are using it properly.
This will ensure you get the cleaning done effectively without exposing your tile to any possible damage.
We are going to explain the best way to safely clean your porcelain tiles with a Magic eraser.
Method
Porcelain tiles are easy to maintain and regular cleaning will help keep them protected and shining for longer.
Just follow these easy steps below:
STEP 1: Remove any dirt and debris that might be on the tile surface by sweeping off the dirt using a broom. This can also be done using a vacuum cleaner, but ensure to pick up any clutter first that might be hiding dirt and dust.
STEP 2: Wet the magic eraser by dipping it in some water and then, lightly squeeze it to get rid of any excess water. This will activate the cleansing agents in the magic eraser.
STEP 3: Applying light pressure, slowly scrub the tile surface with the magic eraser. Work in small sections and take your time on the spots that have tough stains.
STEP 4: Now to remove stubborn grime that might be on the grout, use the magic eraser to gently scrub the grout in between the tiles till the ingrained dirt comes off.
STEP 5: Rinse the floor, by mopping the tiles with a damp mop till all the dirt on the tiles disappears. Then allow the tile to air dry.
Now take a look at the restored luster and shine of your tiles.
Alternatives To Magic Eraser For Cleaning Porcelain Tiles
A magic eraser, while effective, is not the best available option to use to clean your porcelain tiles as it is not the most cost-effective or efficient since it’ll require quite a lot of magic eraser and time to fully cover every inch of your floor.
There are, however, better alternatives you can use when cleaning porcelain tiles and we’re going to highlight them below.
Method 1: Using Dish Soap or Detergent
To maintain the longevity of your porcelain tile, regular cleaning is imperative and with this quick and easy method, you’ll have your tiles shiny and clean in no time.
STEP 1: Sweep or vacuum the tiles to remove any hard dirt or substances that may be on the surface.
STEP 2: Next, mix dishwashing liquid or detergent with some warm water in a bucket. Then, dip a rag or chamois mop into the soapy water and use it to mop all over the tiles.
STEP 3: If there are any stains, clean them up by mixing equal parts water and vinegar in a spray bottle. Spray the solution onto the stains and use the mop to wipe them off.
STEP 4: Now, dip the mop in plain water and clean the floor to remove all the excess cleaning solution and dirt. Ensure to work in a small section to cover every corner.
STEP 5: Buff the tiles dry with a microfiber towel.
Method 2: Using Baking Soda & Hydrogen Peroxide
Your porcelain tiles will certainly retain deep stains and dirt over time and start to look dull and lackluster. To restore the shine of the tiles, a stronger method is required.
This method is incredibly efficient and will remove any dirt and build-up on your tiles.
STEP 1: Sweep the tiles to remove any surface dust and debris that may be present.
STEP 2: Create a deep cleaning mixture with equal parts baking soda and hydrogen peroxide.
STEP 3: Apply the paste evenly all over the tiles and in between the grout lines and let it sit for about 10-15 minutes.
STEP 4: Use a cleaning brush to gently scrub all over the tiles in circular motions till all the stains and dirt come off the surface.
To clean the grout lines, use an old toothbrush to slowly scrub the grout till any accumulated grime is loosened. Use the brush in the direction of the grout line.
STEP 5: Dip a mop into clean water, then mop all over the tiles to remove all the excess cleaning paste and dirt. You might need to repeat this step twice.
STEP 6: Buff the tiles dry with a towel and take a look at the beautiful shine you’ve restored to your tiles!
Method 3: Using Commerical Tile Cleaning product
This method is another way to clean off all the accumulated dirt and built-up grime. It uses
Follow the steps below:
STEP 1: To remove any dust and hard substances, sweep the tiles.
STEP 2: Next, evenly apply an alkaline-based tile cleaning product of your choice on the tiles and along the grout line.
STEP 3: Leave the mixture for about 20 minutes. However, after every 3 minutes, gently scrub the tile with a nylon-bristle brush to gradually loosen any stain and build-up that’s stuck on the tiles.
STEP 4: After 20 minutes, use a small brush to scrub in between the grout lines to remove any deeply ingrained dirt and stains.
STEP 5: Then, use a white pad to evenly scrub all over the tiles and pull all the dirt residue off the surface.
STEP 6: Dip a mop in some clean water to rinse the tiles and flush off all the excess cleaning solution and dirt. Ensure to repeat this step with multiple wipes in order to remove all the residue.
STEP 7: Finally, buff the tiles dry with a clean towel.
Things To Avoid Using On Porcelain Tiles
Porcelain tiles are very sturdy flooring material and will be resilient against most things. However, to make sure they last longer without unnecessary wear and tear, there are a few things you should avoid using on your porcelain tile:
1- Ammonia or Bleach Based Products
The chemicals in these types of cleaning products can affect the tile color and erode the grout.
2- Products with Dye or Coloring
If your porcelain tile is unglazed, ensure you avoid using cleaning products that contain any dyes or coloring as they can stain your tiles.
3- Steel Wool
Steel wool is made of small particles of metal filaments that can become lodged in the tile or grout which over time, will lead to rust stains.
Therefore, to keep your tile clean and sleek for long, avoid using these overly harsh scouring products.
Tips to Remember When Using Magic Erasers on Porcelain Tiles
1- Don’t Use a Dry Magic Eraser: Wetting a magic eraser before use will soften it and also activate the micro exfoliants in the sponge. This will reduce the possibility of any scratching while you clean.
2- Apply Gentle Pressure: While cleaning, ensure to rub gently while trying to remove all the grime and stains. Cleaning your tile shouldn’t require too much elbow grease.
3- Wear Gloves: The abrasive components of the magic eraser can sometimes be quite damaging to people’s skin. To protect your hands while you clean, wear a pair of rubber gloves.
4- Do a Spot Test: Test a small area of your tile with the magic eraser before you fully begin cleaning.
Conclusion
Porcelain tiles are a favorite choice of flooring material amongst many and they can be maintained and kept looking sleek and beautiful for a long time with regular cleaning and proper care.
With the help of the magic eraser, you can go ahead and safely tackle stubborn stains and grime on your tiles but this will be a more costly and less efficient way to go about it.
We have shown you better ways of cleaning porcelain tiles with other products (household and commercial). In case you choose to use a magic eraser, ensure you follow the tips given above.