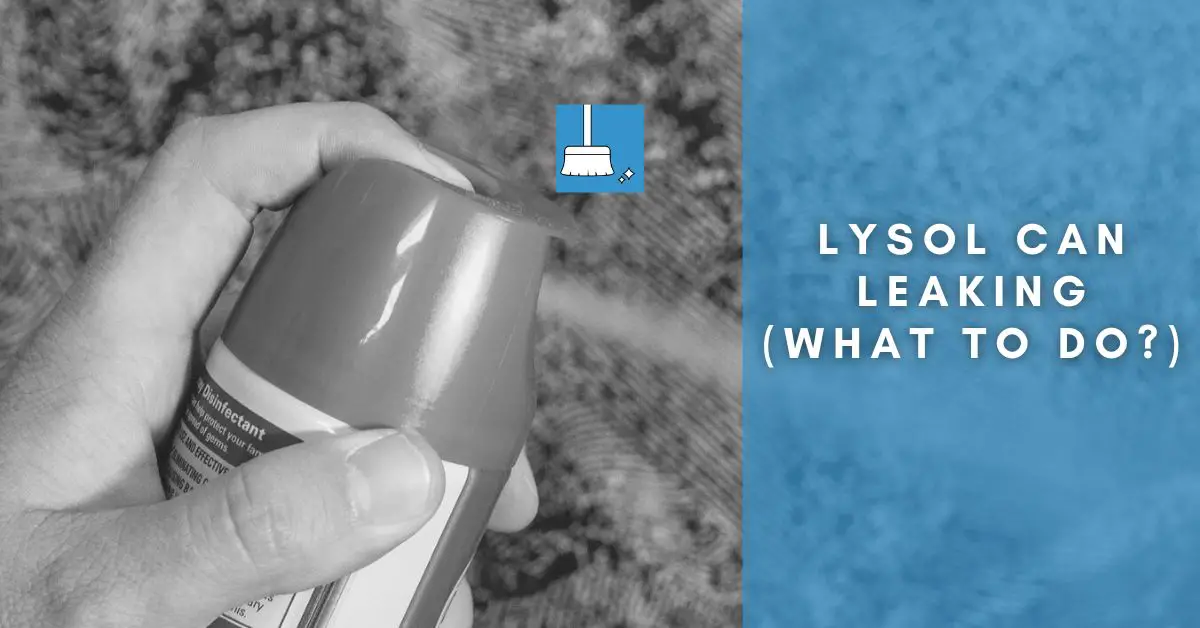
Like most aerosols, Lysol is flammable, i.e., near an open flame or, if heated, can catch fire and even explode. This is why a leaking Lysol can is quite a disturbing thing. If you’ve found that your can of Lysol is leaking, you might be at a loss on what to do immediately to salvage the situation.
While this scenario is not all that common, you may find yourself in it, and it is crucial to know what to do. Do you throw away a leaking Lysol can into the garbage bin or try to stop the leak? Is such a leak even fixable in the first place?
From this article, you’ll gain insight into what causes Lysol aerosol leaks and, more importantly, what to do when they happen.
Lysol Can is Leaking! (What to Do?)
If your Lysol can is leaking, you must act quickly to prevent further damage such as fires, explosions, or irritation. You may decide to dispose of the can or fix the leak. Fixing the leak will depend on the source.
For Fixing a puncture leak, you can use duct tape to stop a leak from the body, but you will have to replace it after a while because the pressure in the can will eventually push it off. You may decide to reinforce the duct tape by wrapping it around the can several times.
However, if it is a nozzle leak, this will not work. Read on to find out how to fix a broken nozzle.
Reasons Behind a Leaking Lysol Can!
Your aerosol can could be leaking through either the body or the lid. Below are the possible causes of your aerosol can leaking:
1- A Puncture: This is the most apparent reason why your spray can might be leaking. It is easy to identify since you will find the product coming out through whatever spot it was punctured.
2- Broken Spray Unit: There could be a fault with the nozzle on top of your spray can. The spray valve/nozzle comprises different parts, and there could be a fault with any of the different parts of the valve.
It could also be that you repressurized your can, and the spraying valve cannot withstand the increased pressure. Another cause could be that the manufacturing quality of the can is poor. Lastly, the valve and nozzle components may be worn out or corroded.
3- An Expired Product: It is possible that your Lysol Spray expired and that the can started to leak.
Fixing a Broken Lysol Spray Nozzle
Suppose you accidentally drop your aerosol can and break the nozzle, or the nozzle just gets broken from wear and tear. In that case, the easiest solution is to replace it.
However, some cans come with nozzles that are not replaceable, so you must be creative to use them when they break. Below is a step-by-step guide for fixing your broken aerosol spray nozzle.
You’ll Need
Sandpaper
Gloves
Face shield
Spray straw
Spray cap (new or old)
Cutter/Plier
Steps
STEP 1: Wear protective gear to avoid getting the can’s content into your eyes and on your body.
STEP 2: Using the sandpaper, even out the broken nozzle so that it is flat and even around the edges. Then, try to fit the straw into the hole. It probably will not fit, but you’ll get an idea of how much it needs to be shaved to fit.
STEP 3: Then, use the sandpaper to shave the tip of the straw that is supposed to go into the nozzle till it fits in. When putting the straw inside, you can hold the nozzle with a plier so that the nozzle doesn’t rotate or press inside and accidentally spray you.
STEP 4: Cut the other side of the straw at an appropriate length and fit the cap on it. You may also need to sand it to fit into the spray cap. Ensure the fitting is secure, then test your spray to ensure it works well and is not leaking.
Unclogging a Lysol Spray Can
A problem that can be as annoying as a leaking can is one that won’t spray. If this is the issue you are facing, it could be that your nozzle is clogged or has lost pressure. If the can is one of spray paint or hair spray, there is a high chance clogging is the problem. There are a few methods you can use to fix this:
Method 1: Using a Needle
The only thing you need for this method is a needle.
Remove the nozzle and put the needle into the holes, i.e., the part connected to the can and the hole the product comes out of. Be careful while poking around, so you don’t damage the spray mechanism.
Then screw it back on and try to spray it. If it does not work, try method two.
Method 2: Clean the Nozzle
You can do this with hot water and a cloth.
Get a cloth soaked in warm/hot water and wipe the exit of the spray nozzle. You can also run the nozzle under hot water to eliminate the debris.
After this, dry and screw the cap back on.
Some clogs will not remove with mere hot water so if this is the case for you, move on to the third method.
Method 3: Soak the Nozzle
There are many things you can soak the nozzle in. You can soak in paint thinner like turpentine, acetone, or nail polish remover if you are dealing with paint.
Otherwise, you can soak the nozzle in vinegar or rubbing alcohol for a few hours.
After this, you should rinse off the nozzle thoroughly and dry it before putting it back on the spray container.
Method 4: Use Aerosol Lubricant
If all else fails, you can buy a can of aerosol lubricant.
Remove the nozzle from the lubricant and replace it with the clogged nozzle. Then spray the product through the nozzle till it comes out freely. Finally, return the nozzle to its original spray can.
Fixing a Lysol Aerosol Can That Lost Pressure
To know if your aerosol can has lost pressure, shake it to feel the movement or sound of liquid. If there’s something in it, try to spray it. If it comes out weakly, you must fix the pressure in the can. The best way to do this is using pressurized air. It is safer than other propellants like butane and is easier to use.
You’ll Need
Tire valve stem
Tire pump nozzle
Portable air compressor
Rotary power drill with cutting wheel (optional)
Cutter (pliers, utility knife, etc.)
Face Shield
Face Mask
Gloves
Steps
STEP 1: You’ll need to kit up appropriately. There is a risk of explosion or poisoning either through inhalation or contact during this procedure, so use all necessary protective clothing to reduce the risk. Also, make sure you only attempt this in a well-ventilated environment.
STEP 2: Pull the lid of the spray can off. It should come off quickly without any twisting and turning. Simply pull it straight off to expose the nozzle.
STEP 3: Take your valve stem, remove the cap, and cut the rubber bottom on the other side so it has a flat surface. You can use a Dremel with a cutting wheel to get a good cut and sand it completely flat. Also, you may do this manually with a cutter. If you don’t have a cutting tool, you can still go ahead to use the valve stem. Cutting it helps it fit better on your spray bottle.
STEP 4: You can connect the valve stem to the nozzle attached to your air compressor.
STEP 5: Set your compressor to a PSI of about 90 or 95. You can also go online to check for the original PSI of the specific product. Then pump the air into the can for a few seconds (about 10 or less).
STEP 6: The pressure of your aerosol spray bottle should be back.
Leaking Aerosol Can Disposal
There are two primary ways to dispose of a leaking aerosol can. The first thing is to take it to a hazardous waste facility. The other is to dispose of it in a regular trash can.
If you are taking it to a hazardous waste facility, you’ll need to locate one close to you. Then you should do something to stop the leak momentarily while you transport it. You can apply duct tape to the surface of the can where the leak is happening. This should stop the leak while transporting the can to an appropriate disposal location.
Another thing you can do is to allow the can content to empty. If the can is almost empty, you can let the content finish coming out and throw the can away in your garbage bin.
Before disposing of it, you’ll need to ensure there is absolutely nothing in the can again. If it is leaking in an indoor area where people are exposed to it, move the aerosol can to an outdoor area where there is a lot of air and no direct sunlight.
You can also take it outside in an untied large garbage bag. As soon as you believe the leak has finished, try to spray the can to be sure nothing is inside again. You can shake it also. Then, safely throw the can into your bin from where it can be recycled.
Can a Can of Lysol Explode?
A can of Lysol can, in fact, explode. Aerosols cans are pressurized, and this pressure can increase depending on the temperature to which you expose the can. This is why these products almost always come with storage warnings, such as keeping them away from sunlight and below specific temperatures.
When the can of Lysol is exposed to a high temperature for a consistent period, the can may no longer be able to hold the pressure of its content. This is because the heat weakens the metal container while increasing the pressure inside it. At this point, the can will explode.
There are many dangers associated with this happening. The first is that the shrapnel from the can might fly in different directions injuring anyone around at the time of the explosion. Another hazard is the content of the Lysol, which in itself is not totally safe for humans. If one inhales the full content of a Lysol can, it can trigger health problems.
Lastly, an explosive Lysol can in the kitchen, near a naked wire, open flame, or any other fire source can lead to a large fire outbreak. This is because Lysol is highly flammable.
The dangers of an exploding Lysol can are so great that it is much better to prevent it from happening in the first place. Avoid exposing aerosol cans to heat. Even putting them in a heated ar trunk for an extended time may cause an explosion.
Final Thoughts!
If you find your Lysol spray can leaking, there is no need to panic. Be thankful you discovered the leak before any hazardous event and fix the can or dispose of it properly if you prefer.
Also, check your aerosol cans for leaks more frequently and store them appropriately to further reduce the likelihood of them leaking or causing damage if they do start to leak.
In addition, you should note that it is not just aerosol products that are flammable. Lysol wipes and other cleaning products that contain ingredients like ethanol can catch fire if they start to leak. So keep all of your cleaning products properly and act promptly when you discover any can leaking.